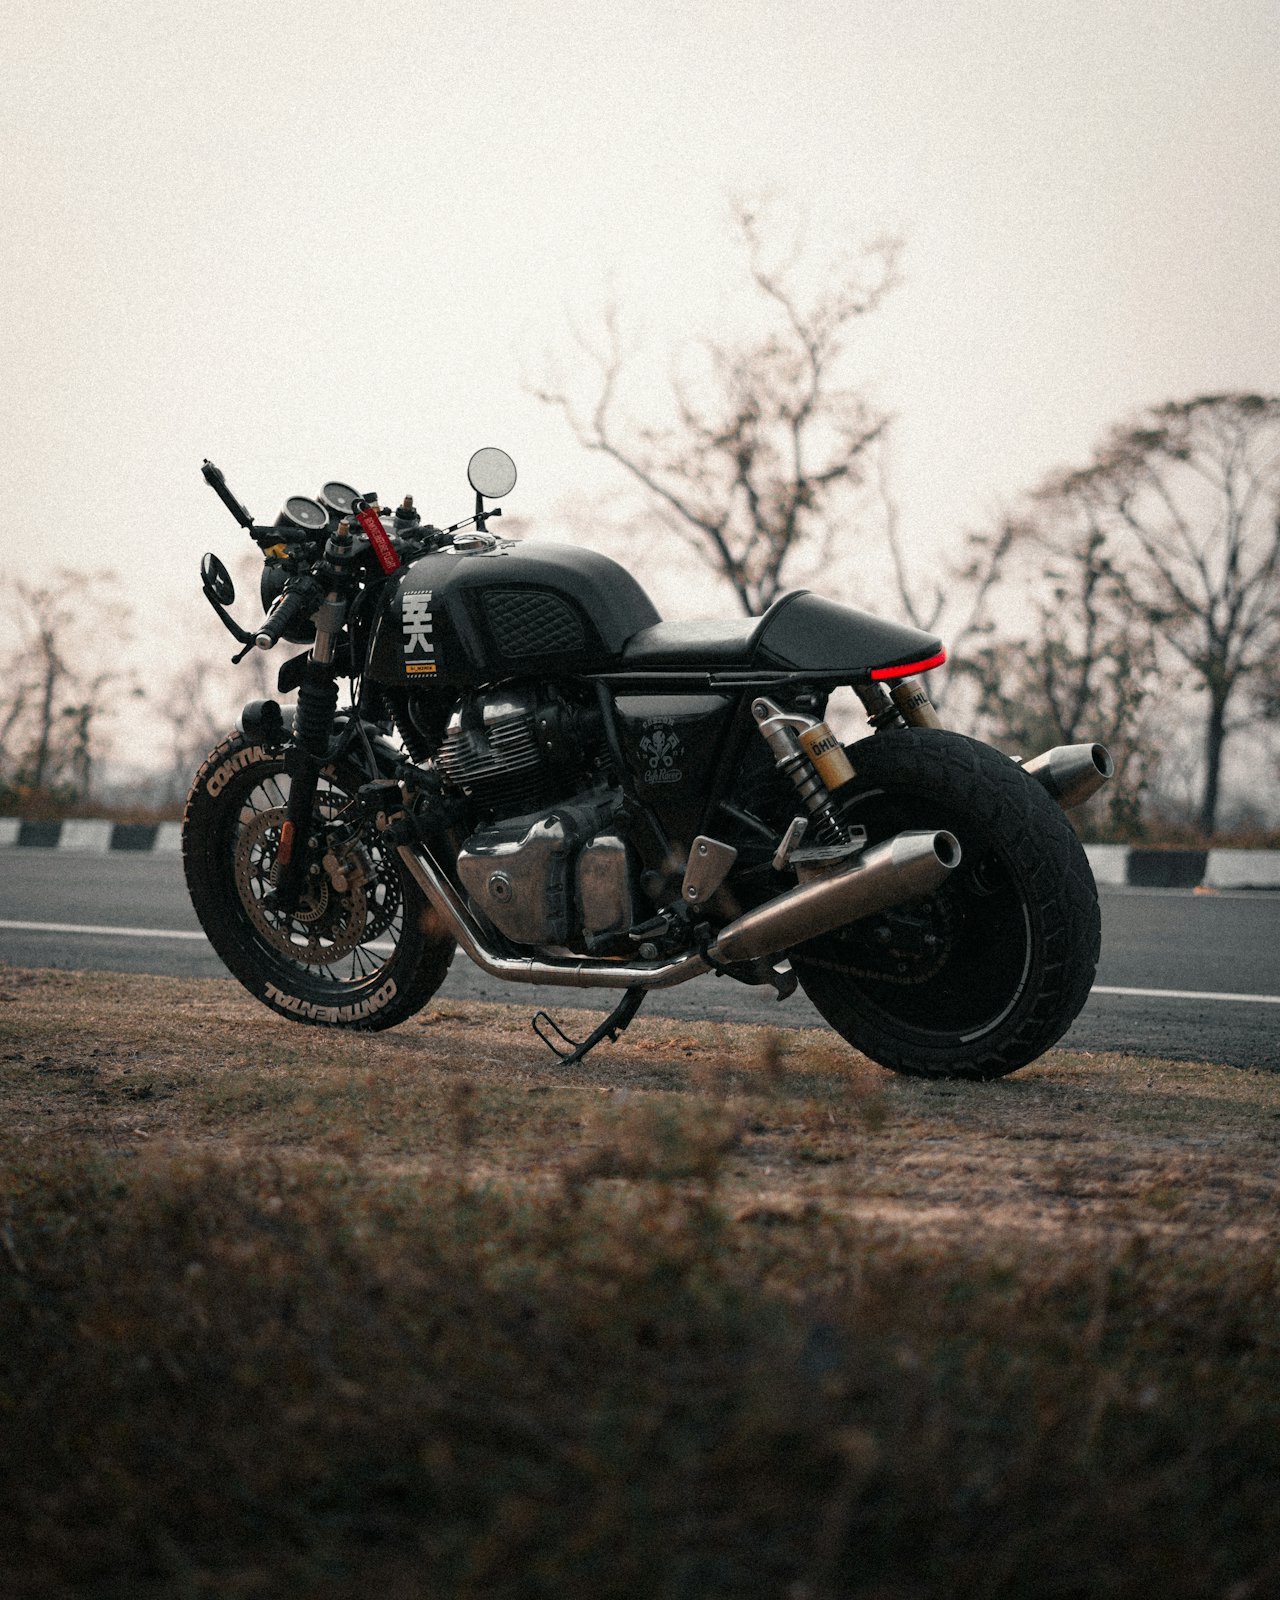
Most riders in this country put the bike away in October and dig it back out in March. I don’t blame them — cold hands, salt-caked chains and eight hours of darkness either side of the commute are a hard sell. But five months of storage is also five months of atrophying skills, a flat-spotted battery and a machine you’ll barely recognise come spring. The alternative to hibernation isn’t heroism, it’s specification: get the right kit on the right bike and a genuine UK winter commute stops being a survival exercise and becomes just another ride, done in more layers.
This isn’t a list of vague comfort tips. It’s a practical build sheet — heated grips and gear, the tyre compound that actually matters below 7°C, keeping road salt from eating your drivetrain, why ABS and traction control stop being a nice-to-have and start being the whole point, lighting for a commute done mostly in the dark, and which categories of bike genuinely shrug off a British winter rather than merely enduring it.
Heated Grips and Gear Are Not Optional
Numb fingers aren’t a minor discomfort — they’re a safety problem. Lose fine motor control in your fingertips at motorway speed and your braking and clutch feel both degrade before you’ve noticed anything is wrong. Heated grips are the single highest-value modification you can make to a winter bike, full stop. They draw modest current, most factory electrical systems shrug them off without complaint, and even a basic aftermarket set with a proper thermostatic controller turns a sub-zero commute from an ordeal into a non-event. If your bike doesn’t already have them, this is where the money goes first, ahead of everything else on this list.
Grips are only half the job. A heated jacket liner or vest, wired through a fused lead straight to the battery, keeps your core warm enough that your brain stays on the road rather than fixating on the cold — and a warm rider makes sharper decisions. A Pinlock-style anti-fog visor insert is close to mandatory once your breath starts condensing on the inside of the lid, and a decent neck tube stops draughts finding the one gap your jacket collar leaves. Just be honest about total load: stack heated grips, a heated vest, a heated seat and a set of auxiliary lights onto an older bike’s charging system and you can genuinely outrun what the alternator produces at idle. Get the charging system checked before you add the third or fourth accessory, not after the battery starts sulking.
Tyres: Buy the Compound, Not Just the Size
Rubber has a working temperature window, and most sports-orientated compounds stiffen up hard as the mercury drops. Below roughly 7°C, a compound pliable at 30°C on a summer B-road can feel glassy and vague, exactly when you need the opposite. This is the most underrated winter upgrade: fit a sports-touring or commuter-focused compound with a broader, more consistent temperature range rather than assuming your summer rubber will simply cope. It costs nothing extra over replacing worn tyres with the same compound you removed, and the difference is bigger than most riders expect.
Tread pattern matters as much as compound. A tyre with generous grooving and sipes clears standing water and slush far more effectively than one optimised for dry-line grip — don’t assume a deep, aggressive tread means more security, since off-road-biased knobblies can feel notably squirmy on wet tarmac despite looking tougher. Resist the temptation to drop pressures for more grip in winter, too; an underinflated tyre heats unevenly and handles worse in the cold, not better. Stick to the manufacturer’s spec, and check it more often than in summer, because cold air alone will quietly drop your psi over a few weeks.
Chain, Corrosion and the War Against Road Salt
UK winter roads are treated with grit and salt, and salt is relentless on anything metal. An unprotected chain can develop a visible bloom of surface rust within days of a salted commute, and from there wear accelerates fast. Switch to a wax-based chain lube for the season — it doesn’t sling off at speed the way a wet lube does, and crucially it doesn’t attract the same amount of road grime into the rollers. Halve your usual lubing interval too; if you’d normally lube every few hundred miles in summer, treat winter as needing roughly double the attention.
Chain aside, salt goes after fasteners, brake calipers, exposed alloy and electrical connectors just as happily. A corrosion-inhibiting spray applied to these areas before the season starts is cheap insurance against seized bolts and crusted terminals in spring. Rinse the bike with plain fresh water after any salted-road ride, paying attention to the underside, wheels and calipers, but keep a pressure washer well away from wheel bearings, the headstock and swingarm pivots — you’ll do more harm forcing water past a seal than the salt would have done left alone. Worth noting: if your next bike has shaft or belt final drive, you sidestep most of this entirely, which is a genuine and underrated winter-commuting advantage.
- Fit heated grips if you don’t already have them — the highest-value single upgrade.
- Switch to a sports-touring or commuter tyre compound rather than trusting summer rubber below 7°C.
- Move to a wax-based chain lube and roughly double your normal lubing frequency.
- Apply a corrosion inhibitor to fasteners, calipers and electrical connectors before the salt starts.
- Rinse the underside, wheels and calipers after salted-road riding — avoid jetting bearings and seals directly.
- Check tyre pressures more often; cold air drops psi faster than you’d expect.
ABS and Traction Control Earn Their Keep in the Wet
Picture a wet roundabout in December: a diesel sheen from idling traffic, a mat of fallen leaves gone slick, a drain cover polished smooth by a thousand tyres. Under hard braking into that scenario, a locked front wheel on a painted line or a manhole cover is how good riders end up on the ground through no fault of their own. ABS doesn’t stop this happening less often than you’d think — it stops it happening to you, buying back the margin that a low-grip surface takes away in an instant. In my testing, any bike without at least switchable ABS is a genuinely harder sell for winter commuting, no matter how good it is in July.
Traction control does the same job on the way out of a junction rather than into one, smoothing a clumsy or startled throttle input so the rear doesn’t suddenly spin up on a greasy patch you didn’t see. A dedicated rain or road riding mode, which softens throttle response and lets the electronics intervene earlier, is worth having and worth actually using rather than defaulting to the sportiest setting out of habit. Increasingly, mid-range bikes carry cornering-sensitive, IMU-based systems that add intervention margin exactly when you’re leant over — precisely the moment a low-grip surface bites hardest. None of this is a substitute for good technique, though; it widens the margin for error, it doesn’t remove the need to ride within it.
Traction control never rides for you. It just quietly widens the gap between a bad decision and a bad crash.— Sam Whitlock, Racing Editor
Lighting and Visibility When the Sun Barely Rises
By December, plenty of UK commutes are done entirely in the dark, both ways. Add spray thrown up by other traffic, a driver’s attention already stretched thin by the conditions, and dark winter kit against a dark wet road, and you have a genuine visibility problem that no amount of skilled riding fully solves alone. Auxiliary lighting or a proper LED headlight upgrade pays for itself quickly, and reflective or hi-vis elements on your jacket and helmet make a real difference to how early other road users register you exist. It’s also worth remembering that a film of road grime and salt spray dulls a headlight lens or a visor far faster in winter than you’d notice — a quick wipe before you set off matters more than it sounds like it should.
Cold weather is also unkind to batteries, and a battery already working harder to crank over a cold engine has less spare capacity for heated grips and extra lighting on top. Check battery health and terminal connections before the season properly bites, and fit a smart charger if the bike sits for stretches of days rather than being ridden daily. None of this replaces riding position: sit a little further from the gutter where a following driver has more time to register your lights, cover the brake earlier than you would in summer, and give yourself the stopping distance that assumes the car behind hasn’t quite seen you yet.
Which Bikes Actually Cope With a Genuine UK Winter Commute
Adventure bikes are the standout category for this, and it isn’t close. An upright, commanding riding position, a generous screen, and hand guards fitted as standard all cut wind chill dramatically before you’ve spent a penny on aftermarket kit, while longer suspension travel shrugs off potholes and sunken drain covers hidden under standing water rather than transmitting every one into your wrists. The Yamaha Ténéré 700, Triumph Tiger 900, Honda Africa Twin, Suzuki V-Strom 800DE and Royal Enfield Himalayan 450 all fit this brief comfortably. Push further up the range into full tourers like the BMW R 1250 RT or Honda Gold Wing and you get heated grips and seats as standard plus shaft drive that removes chain maintenance from the equation entirely — the trade-off is size and weight that can feel like a lot of bike for a tight urban commute.
Nakeds and scooters both deserve more winter credit than they get. A light, upright naked like the Yamaha MT-07 or Kawasaki Z650 is genuinely easy to live with once you’ve fitted heated grips and a small screen, and its low weight helps at the low-speed, greasy-roundabout moments that catch heavier bikes out. Scooters go further still: proper legshields and a floorboard shelter your legs and feet from spray more effectively than any textile trouser, and no clutch lever to work through stop-start traffic removes a genuine source of fatigue on a cold, wet commute — the Honda PCX 160, Yamaha TMAX 560 and Vespa GTS 300 are all quietly excellent winter commuters that rarely get mentioned in this conversation. What fights you hardest is a committed sportsbike: aggressive clip-ons, zero wind protection and a riding position built for a warm racetrack rather than a cold ring road. It’s a brilliant machine for July and a genuinely miserable one for January, and no amount of heated grips fixes the fundamental mismatch.
Building the perfect UK winter bike is mostly not about buying a new one. Heated grips, the right tyre compound, disciplined chain and corrosion care, decent lights and electronics you actually trust will transform almost anything you already own — that’s where the money should go first, before a single thought about a different bike. But the machine underneath does matter, and an upright, well-protected commuter will always make the darkest, wettest months easier than a bike built for a summer that, right now, feels a very long way off. Get the basics right and winter stops being a season you endure on two wheels — it becomes just another one you ride through.
Tread depth is not a grip guarantee. It is a legal minimum, chosen by regulators who have never had to trail-brake into a roundabout in the dark with a lorry’s spray hanging in the air ahead of them. Ride enough wet miles and you learn that the gap between “legal” and “safe” can be measured in bike lengths, not millimetres — and by the time you find that out, it is already too late to matter.
Every wet-weather near-miss story I have heard from other riders circles back to the same quiet assumption: they checked their tread with a coin, saw it clear the wear bars, and considered the job done. Treating a tread-depth check as a pass/fail safety certificate is, I think, the single most dangerous piece of received wisdom in motorcycling. It is technically true and practically false, and that gap is exactly where people get hurt.
The Tread Depth Trap
Most markets set a legal minimum around 1.6mm across the central portion of the tyre. Fall below it and you’re riding illegally. Stay above it and you’re, on paper, compliant. But wet grip doesn’t fall off a cliff exactly at the legal line — it degrades continuously from the day the tyre leaves the mould, and the last couple of millimetres of tread are doing wildly more work in the rain than the first few. A tyre at 2mm is not “nearly as good” as one at 5mm in the wet. It’s a different tyre.
The grooves in a tyre aren’t decoration — they’re a pumping system, channelling water out from under the contact patch fast enough that rubber actually touches road instead of riding on a film of water. Halve that channel depth and you’ve roughly halved its evacuation capacity, while the water on the road hasn’t gone anywhere. At speed, on a worn rear through standing water, the margin between gripping and aquaplaning can vanish in the time it takes to register the throttle is open.
Why This Myth Refuses to Die
Part of the reason tread depth dominates is that it’s the only wet-grip number anyone actually tests you on. A roadworthiness check measures tread across a groove with a gauge — it says nothing about compound hardness, and it never will, because there’s no cheap, universal roadside test for that. Legal minimums exist to catch the worst offenders, not to certify good wet-weather performance. Riders quietly translate “passed the check” into “safe tyre,” and any guidance on ageing tends to live in small print nobody reads before a tyre goes on the bike.
Rubber Doesn't Age Like Wine
Here’s the part almost nobody checks: a tyre doesn’t need to be worn to be dangerous. Rubber compound hardens with age regardless of mileage, through UV exposure, ozone, heat-cycling and plain oxidation. A bike sitting in a garage all winter is still ageing its tyres. The soft, tacky compound that keys into wet tarmac’s microscopic texture when new slowly turns glassier and less pliable — and a hardened tyre with plenty of tread left can grip dramatically worse in the wet than a half-worn tyre that’s still supple.
Storage conditions matter more than most riders assume. A tyre kept in a sunlit garage, strapped outdoors under a cover, or fitted to a bike parked near an exhaust or radiator will harden faster than one kept cool and shaded. Two tyres from the same batch and the same mileage can end up in noticeably different states purely because of where the bikes lived — which is exactly why mileage alone is as unreliable a proxy as tread depth.
Every tyre carries a date code moulded into the sidewall, usually four digits: week, then year of manufacture. Find it. Read it. The general guidance most experienced riders and racers work to is that a tyre five to six years old deserves serious scrutiny regardless of remaining tread, and one approaching a decade should be treated as suspect no matter how good it looks.
Pressure: The Cheapest Safety Upgrade You're Ignoring
If compound age is the invisible killer, pressure is the one riders actively sabotage themselves on. Run a tyre soft and the contact patch balloons and distorts, tread blocks squirm under load, and the edges of the patch lift first — right when you need every millimetre of rubber biting into wet road. Run it hard past spec and the patch shrinks to a narrower strip, cutting the very contact area you’re relying on to push water aside. Neither mistake announces itself until you’re already leant over in a bend that has gone wrong.
Pressure also drifts with temperature and time, not just punctures. A tyre spot-on in summer heat can sit several psi low once mornings turn cold, and slow seepage through the rubber itself bleeds pressure over weeks with no leak at all. Check cold, before the bike has moved, against the figure on your bike’s own placard — not the maximum moulded into the tyre’s sidewall, which is a structural limit, not a recommendation. Treat pressure as something needing rechecking on a schedule, not something you set once and trust forever.
- Read the date code. Four digits on the sidewall, week then year — treat five-plus years as a serious question, not a formality.
- Look, don’t just measure. A dull, slightly glassy sheen or fine cracking at the base of the tread grooves signals hardening that tread depth alone won’t show.
- Press a thumbnail into the tread rubber. Fresher compound gives slightly; hardened compound feels closer to a hockey puck.
- Check pressure cold, against your bike’s placard, at least monthly — and always before a long wet-weather ride.
- If you have the comparison, brake hard from low speed in a safe, empty, wet car park on the tyre in question versus a fresh one. The difference is not subtle.
- When tread depth and tyre age disagree — plenty of rubber left, but the tyre is old — trust the age.
A tyre with four millimetres of tread and five hardened years underneath it isn't a safe tyre. It's a slick wearing a costume.— — Sam Fairweather, Latestnewbike.com
You pin the throttle from a dead stop and the bike just does not go. Revs climb, the exhaust note rises, but the shove you remember from a few thousand kilometres ago has gone soft and rubbery. This is one of the most common complaints we hear, and also one of the easiest to misdiagnose, because at least three unrelated faults produce almost the exact same symptom: a strangled air filter, worn clutch plates, and lazy fuelling. Guess wrong and you will pay a mechanic to strip a clutch that was never the problem.
The fix is to work through the cheap, easy checks first and only escalate once you have ruled them out. Pulling a clutch cover is a job with gaskets and often new plates to buy — you do not want to do it twice because you skipped a five-minute filter check first. Below is the order we actually use in the workshop, complete with the go or no-go signs that tell you whether to move to the next step or stop right there.
Read the Symptom Before You Start
Where the flat spot happens tells you almost as much as what causes it. A bike that bogs from idle and only wakes up once you are already rolling, or that struggles to hold a steady low throttle without hunting and surging, usually points at restricted airflow or a fuelling fault — the engine simply is not getting a clean, correctly mixed charge. A bike that revs freely with no load, sounds and feels perfectly healthy at speed, but refuses to accelerate hard from low RPM under real load — pulling away, overtaking, climbing a hill — points more towards clutch slip, because the engine is making the power and the rear wheel is not fully receiving it.
Listen for revs rising faster than road speed under hard acceleration, particularly in a low gear: that classic feeling of the engine racing ahead of the bike is the single strongest tell for a slipping clutch. Smell for anything unusual too — a faint burning smell after a hard launch is a fairly reliable sign of clutch plates cooking themselves. Neither symptom is proof on its own, but together they should steer where you start looking first.
What You Will Need
None of this requires specialist tools. A basic kit gets you through every check below, and most of it you probably already own if you do any of your own servicing.
- A socket or spanner set to remove the airbox lid and spark plug.
- A spark plug socket with a rubber insert, plus a feeler or gap gauge.
- A torch or phone light to inspect filter and plug colour properly.
- A clean rag, plus a notepad to log clutch free play before you touch it.
- Your owner’s manual, for the exact plug gap, clutch play and idle speed.
Step One: Air Filter Condition
This is the five-minute check that should always come first, because a clogged filter starves the engine of air, richens the mixture, and saps power precisely where you would feel it most: low-speed pickup. Pull the seat or side panel, open the airbox, and lift the element out. Hold it up to a light source — a paper filter should let daylight through fairly evenly; a foam filter should look and feel lightly oiled, not caked and stiff. Go sign: the filter is clean, or a simple clean and re-oil restores pickup on a test ride — problem solved cheaply. No-go sign: the filter is already clean, or replacing it changes nothing — keep going, because a second fault is still hiding.
While the airbox is open, glance at the intake boot and hose clamps for cracks or looseness too. An unmetered air leak here behaves almost like a blocked filter in reverse — it can make the mixture run lean and gutless at small throttle openings — and it costs nothing to check while you are already in there.
Step Two: Spark Plug Health
With the airbox buttoned back up, pull the spark plug or plugs next. This tells you two things at once: the plug’s own condition, and — from its colour — how the engine has actually been running. A healthy plug should show a light tan or greyish-brown deposit on the ground electrode. Black, sooty deposits point to a rich mixture or a fouled plug struggling to fire cleanly under load; a chalky white deposit or a badly rounded electrode suggests it is simply worn out and losing spark energy exactly when you ask for full throttle.
Check the gap against your manual’s spec with a feeler gauge, and inspect the electrode for rounding — a worn electrode needs a stronger spark to jump the same gap, and that weakness shows up most under load, which is exactly the pickup problem you are chasing. Go sign: the plug is heavily worn, fouled, or badly gapped, and swapping it sharpens pickup. No-go sign: the plug looks correctly coloured, gapped to spec and only lightly worn — move on to the clutch.
Step Three: Clutch Plate Wear and Slip
This is the step people dread, but you can screen for clutch slip without opening anything. Start with cable or hydraulic free play at the lever — too little free play can leave the clutch permanently, partially disengaged, which reads exactly like plate slip. Adjust it to your manual’s spec first, because this five-minute fix solves more worn clutch complaints than people expect.
If free play is already correct, do a simple road test: on a safe, straight stretch, pull away in second or third gear rather than first and accelerate hard. A healthy clutch drives the bike forward in step with the rising revs. A slipping clutch lets the engine revs flare noticeably ahead of road speed, particularly under load or on an incline — the classic feeling of the engine wanting to go while the bike lags behind. Repeat the test a few times so you are not fooled by a one-off hesitation from something else entirely.
Go sign: revs and road speed track together even under a hard, loaded pull — the clutch is not your problem, so look harder at fuelling instead. No-go sign: revs flare independently of road speed, you catch a hot friction smell, or the bike has covered a high mileage with a heavy-handed riding style — the plates are almost certainly worn or glazed and it is time to plan a proper clutch inspection.
An American bagger doesn’t corner like a sportbike, brake like a naked, or care about lean angle the way a track bike does. What it does have to do is carry 700 to 900-plus pounds of motorcycle, plus a passenger, plus saddlebags and probably a tour-pack, down an interstate at 75 mph in a crosswind, on exactly two contact patches. Choose the wrong tyre for that job and you won’t just lose a bit of grip — you’ll get a rear that squares off in a few thousand miles, a front that goes light and vague at highway speed, or a sidewall that simply isn’t rated to carry what you’re asking it to.
Most bagger owners shop tyres the way they shop pipes: by brand loyalty, tread pattern, or how wide they can go before the fender needs cutting. That’s backwards. On a Harley Road Glide, Street Glide or Indian Challenger-style tourer, the tyre spec sheet — profile, load index, speed rating, and how the front and rear are engineered together — matters more than on almost any other class of motorcycle. This guide is about getting that right, not about which brand has the coolest tread pattern on the shelf.
Profile: Why It Matters More on a Bagger Than Anywhere Else
Tyre profile — the cross-sectional shape, essentially how rounded or squared the tread is — decides how a motorcycle transitions from upright to leaned over. On a sportbike this is about quick flickability into a hairpin. On a bagger it’s about something more fundamental: whether hundreds of pounds of loaded steel and two riders tips into a corner smoothly or fights you the whole way in.
Baggers run long wheelbases, typically in the 64 to 67-inch range, with heavily raked front ends and most of the weight sitting low and well back toward the rear axle. A rounder-profile tyre lets that mass roll into a lean progressively; a flatter, more squared profile — often the result of wear rather than original design — makes the same bike want to stand upright mid-corner and then drop in abruptly once it passes the flat spot. That’s exactly the kind of surprise you don’t want with a passenger on the back.
This is also why profile-related wear deserves more attention on a bagger than on almost anything else you’ll ride. Because baggers spend the overwhelming majority of their miles upright on the highway, the rear squares off faster and more predictably than it would on a bike ridden with more variety of lean angle. Once that happens, the bike starts to feel reluctant to turn and then falls into the corner rather than rolling into it — a handling change that shows up well before the tread is legally worn out.
Load Rating: What a Fully Loaded Two-Up Tourer Actually Weighs
Every tyre carries a load index molded into the sidewall — a number, paired with a speed-rating letter, that corresponds to the maximum weight that tyre can safely carry at speed. It’s one of the most important specs on a bagger tyre and the one riders check least. A replacement tyre can look identical to the original fitment, wear a respectable tread pattern, and still carry a lower load index than the tyre it’s replacing.
Do the math honestly before you buy. Start with your bike’s kerb weight, add a passenger, add saddlebags and a tour-pack loaded for a real trip rather than an empty test ride, and you’ll often find a fully dressed two-up tourer is asking its rear tyre to carry close to, or beyond, half a ton once you include the bike itself. Manufacturers spec the front and rear to cover that scenario at the bike’s rated gross weight; the mistake happens when riders swap to a wider or lower-profile tyre for looks and never check whether the load index still covers a fully loaded, two-up trip.
Speed rating matters here too, particularly if you’re chasing a wider custom rear. Going wider than stock sometimes means moving to a tyre line with a lower speed rating than the one it replaced, which is a bad trade for a motorcycle that’s going to spend hours at sustained interstate speed with a full load on board. If in doubt, match or exceed the load index and speed rating molded on your original tyre rather than just eyeballing the size.
Mileage: What All That Weight Does to a Rear Tyre
Weight is the enemy of tyre life, and baggers carry more of it, more consistently loaded, than almost any other motorcycle on the road. A rear tyre hauling a passenger, luggage and a torquey V-twin’s worth of throttle down the interstate simply won’t last as long as the same tyre on a solo commuter bike, and in my experience the rear on a heavily used two-up tourer often needs replacing at something like a third of the mileage the front will manage, sometimes less on serious touring miles through hot climates.
The single biggest lever you have over that number is pressure, checked cold, before the ride, with your own gauge rather than a forecourt airline. Bagger tyre placards typically list a higher rear pressure for two-up and loaded riding than for solo use, and running the solo figure with a passenger and full bags is one of the fastest ways to overheat and prematurely wear a rear tyre. It costs nothing and takes thirty seconds; there’s no excuse for skipping it on a bike this dependent on its rear contact patch.
The chain is the single most neglected component on most motorcycles, and also one of the most important. It transmits every bit of your engine’s power to the rear wheel, works in the filthiest position on the bike and asks for almost nothing in return — just a clean, a lube and an occasional adjustment. Ignore it and you will feel a snatchy, notchy drivetrain, wear out expensive sprockets prematurely and, at worst, risk a chain that jumps or snaps.
The whole job takes about fifteen minutes and needs only basic tools. Do it in the right order — clean, then lube, then check the tension — and your drive train will run sweetly for tens of thousands of kilometres. Make it a ritual you enjoy rather than a chore you avoid, and the bike will reward you every time you pull away. Here is exactly how, safely and without guesswork.
What You Will Need
Gather your kit before you start so you are not wandering off mid-job with oily hands. A paddock stand or centre stand is a huge help because it lets you spin the rear wheel freely, and everything else is cheap and lasts for years. Work in a well-ventilated space, lay down cardboard or newspaper to catch the drips, and keep a barrier cream or gloves handy, because chain grime is stubborn stuff. A cool engine and a stable, level surface make the whole job safer, and setting everything within arm’s reach before you begin lets you work in one smooth, uninterrupted sequence.
- A paddock stand or centre stand to lift and rotate the rear wheel.
- A dedicated chain cleaner or kerosene, plus a soft grunge brush.
- A can of proper motorcycle chain lube, ideally suited to O-ring chains.
- Rags, disposable gloves and something to protect the tyre and floor.
- The spanners for your axle nut and adjusters, plus a torque wrench.
Step One: Clean the Chain
With the bike on its stand, spray the chain with cleaner and gently work the grime loose with a soft brush, rotating the wheel by hand as you go. The golden rule with modern O-ring and X-ring chains is to be gentle: never use a wire brush, high-pressure jet wash or harsh solvent such as petrol, as these can tear the tiny rubber seals that hold in the factory grease. Wipe the chain dry with a rag before you move on.
Pay attention to the whole run as you rotate the wheel, cleaning the rollers, side plates and the faces that mesh with the sprockets. A dedicated grunge brush with bristles on three sides makes light work of this and protects the seals far better than an old toothbrush ever will. If the chain is caked in old fling-off and grime, a second pass of cleaner is worth the effort, because lube applied over dirt simply grinds it deeper into the joints.
Step Two: Lube It Properly
Chain lube works best on a warm chain, so a quick ride beforehand helps it penetrate. Aim the nozzle at the inner face of the chain — the side that contacts the rear sprocket — and lay down a light, even coat while slowly turning the wheel through two or three full rotations. Less is more: a thin film protects, while a heavy soaking simply flings off onto your wheel and swingarm. Crucially, let the lube dwell for a few minutes, or ideally overnight, so the carrier evaporates and the lube stays put.
Different lubes suit different conditions. Wax-based lubes stay cleaner and fling off less, which makes them popular for road use, while stickier chain greases cling harder in the wet but attract more dirt. Whichever you choose, wipe away any excess with a rag once it has settled, because a chain does not need to look wet to be protected. A tidy, lightly oiled chain runs cooler, quieter and considerably longer than a dripping, over-lubed one.
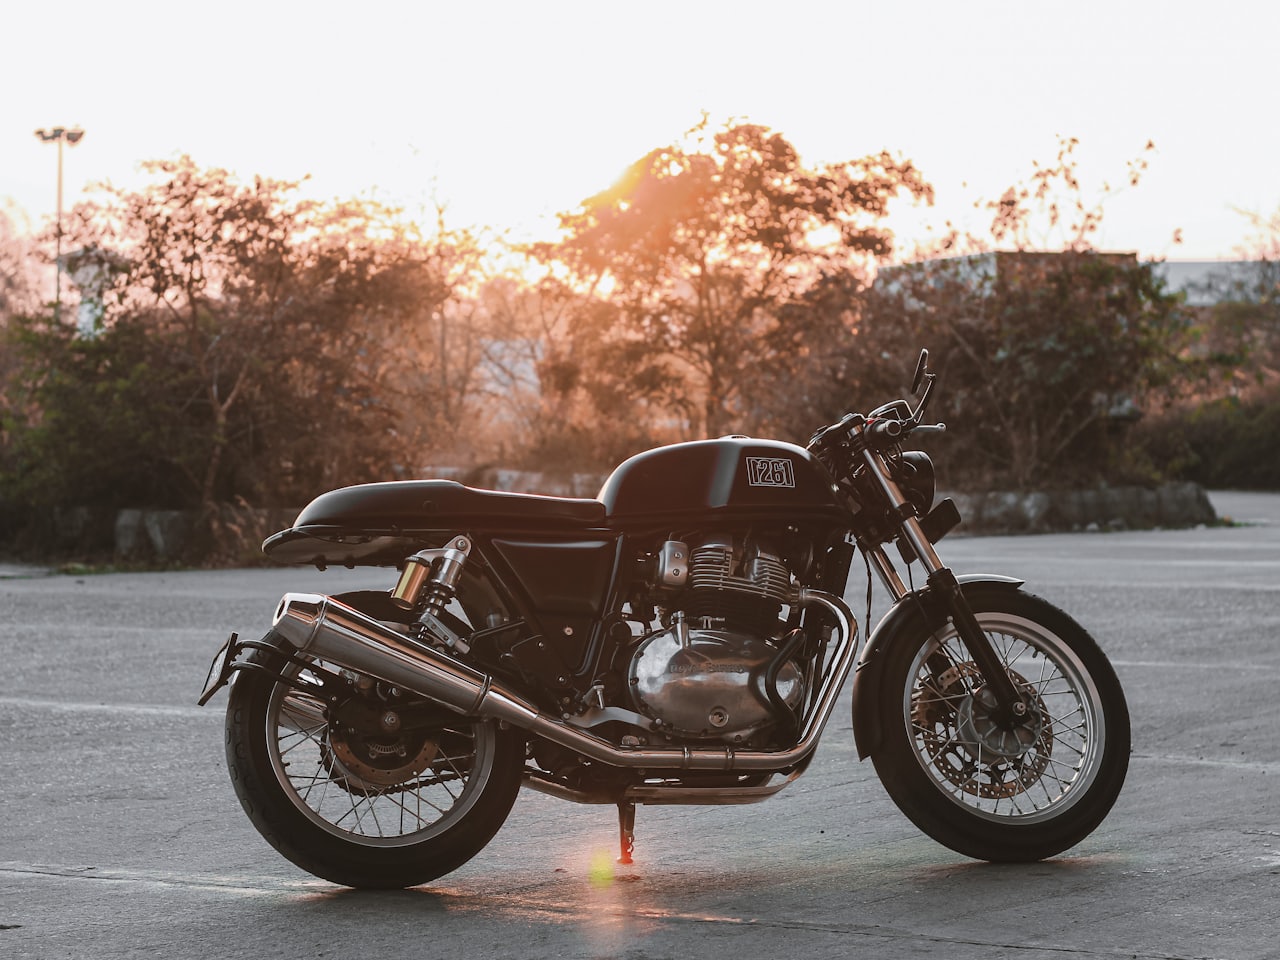
Everything your motorcycle does — accelerating, braking, steering, staying upright — happens through two contact patches no bigger than the palm of your hand. No suspension upgrade, no electronic aid and no amount of horsepower can overrule the grip of your tyres. That makes understanding them the highest-value knowledge a rider can carry, and the good news is that the essentials are far simpler than the marketing suggests.
In this guide we will demystify the three things that actually change how your bike feels and grips: the rubber compound, the profile of the tyre, and the pressure you run. Get these right for your bike and your riding, and an ordinary machine can feel transformed.
Compounds: Grip Versus Longevity
A tyre’s compound is the recipe of its rubber, and it is always a trade-off between outright grip and how long the tyre lasts. Softer compounds grip harder and warm up faster but wear out sooner; harder compounds go the distance but need more heat and care to trust. Manufacturers tune this to the tyre’s purpose, so the trick is simply matching the type to how you ride rather than chasing the stickiest rubber you can find.
- Sport-touring tyres — the sensible default, balancing all-weather grip with high mileage.
- Sport and hypersport tyres — softer, sharper and quick to warm, but shorter-lived.
- Track and slick tyres — maximum grip when hot, unsafe on cold or wet roads.
- Adventure tyres — rated by their road-to-dirt split, from 90/10 to knobbly 20/80.
- Dual-compound designs — a harder centre for mileage with softer, grippier shoulders.
Temperature is the hidden variable in all of this. Every compound has a working range, and grip is compromised until the rubber reaches it, which is why a track tyre feels terrifying on a cold road and a hard touring tyre needs a few kilometres to come good. This is also why the first corners of any ride deserve respect. Match the compound to the temperatures and conditions you genuinely ride in, not the ones in the brochure photographs.
Reading the Sidewall
The sidewall is a data sheet if you know how to read it. A marking such as 180/55 ZR17 tells you the width in millimetres, the aspect ratio as a percentage of that width, the speed rating and the rim diameter in inches. Look too for the four-digit date code inside an oval: the first two digits are the week and the last two the year of manufacture. Even a tyre with plenty of tread is best replaced once it is around five to six years old, because rubber hardens and cracks with age regardless of use.
It is also worth understanding the difference between radial and cross-ply construction, and between tubed and tubeless fitment. Most modern sports and touring bikes run tubeless radials, which run cooler and offer a more stable contact patch at speed, while many spoked wheels traditionally need an inner tube unless designed for tubeless use. Fitting the wrong construction, or mixing a radial with a cross-ply on the same bike, upsets the handling and is best avoided entirely.
Profile and How a Bike Steers
Profile is the cross-sectional shape of the tyre, and it has a direct effect on handling. A more pointed, sportier profile falls into corners quickly and feels eager to turn; a rounder, more touring-oriented profile steers more slowly but feels stable and planted. Fitting a tyre with the wrong profile for your bike, or mismatching front and rear, upsets this balance and can make a bike feel nervous or reluctant. Always fit tyres as a matched pair to the sizes your manufacturer specifies.
Wear changes the profile over time, and not for the better. A rear tyre that has covered many motorway miles develops a flattened central band, which makes the bike feel reluctant to tip in and then fall suddenly past the flat spot — a sensation often mistaken for a mechanical fault. This squaring-off is normal, but it is a clear sign the tyre is past its best for spirited riding even if tread remains. Replace before the handling degrades, not long after.
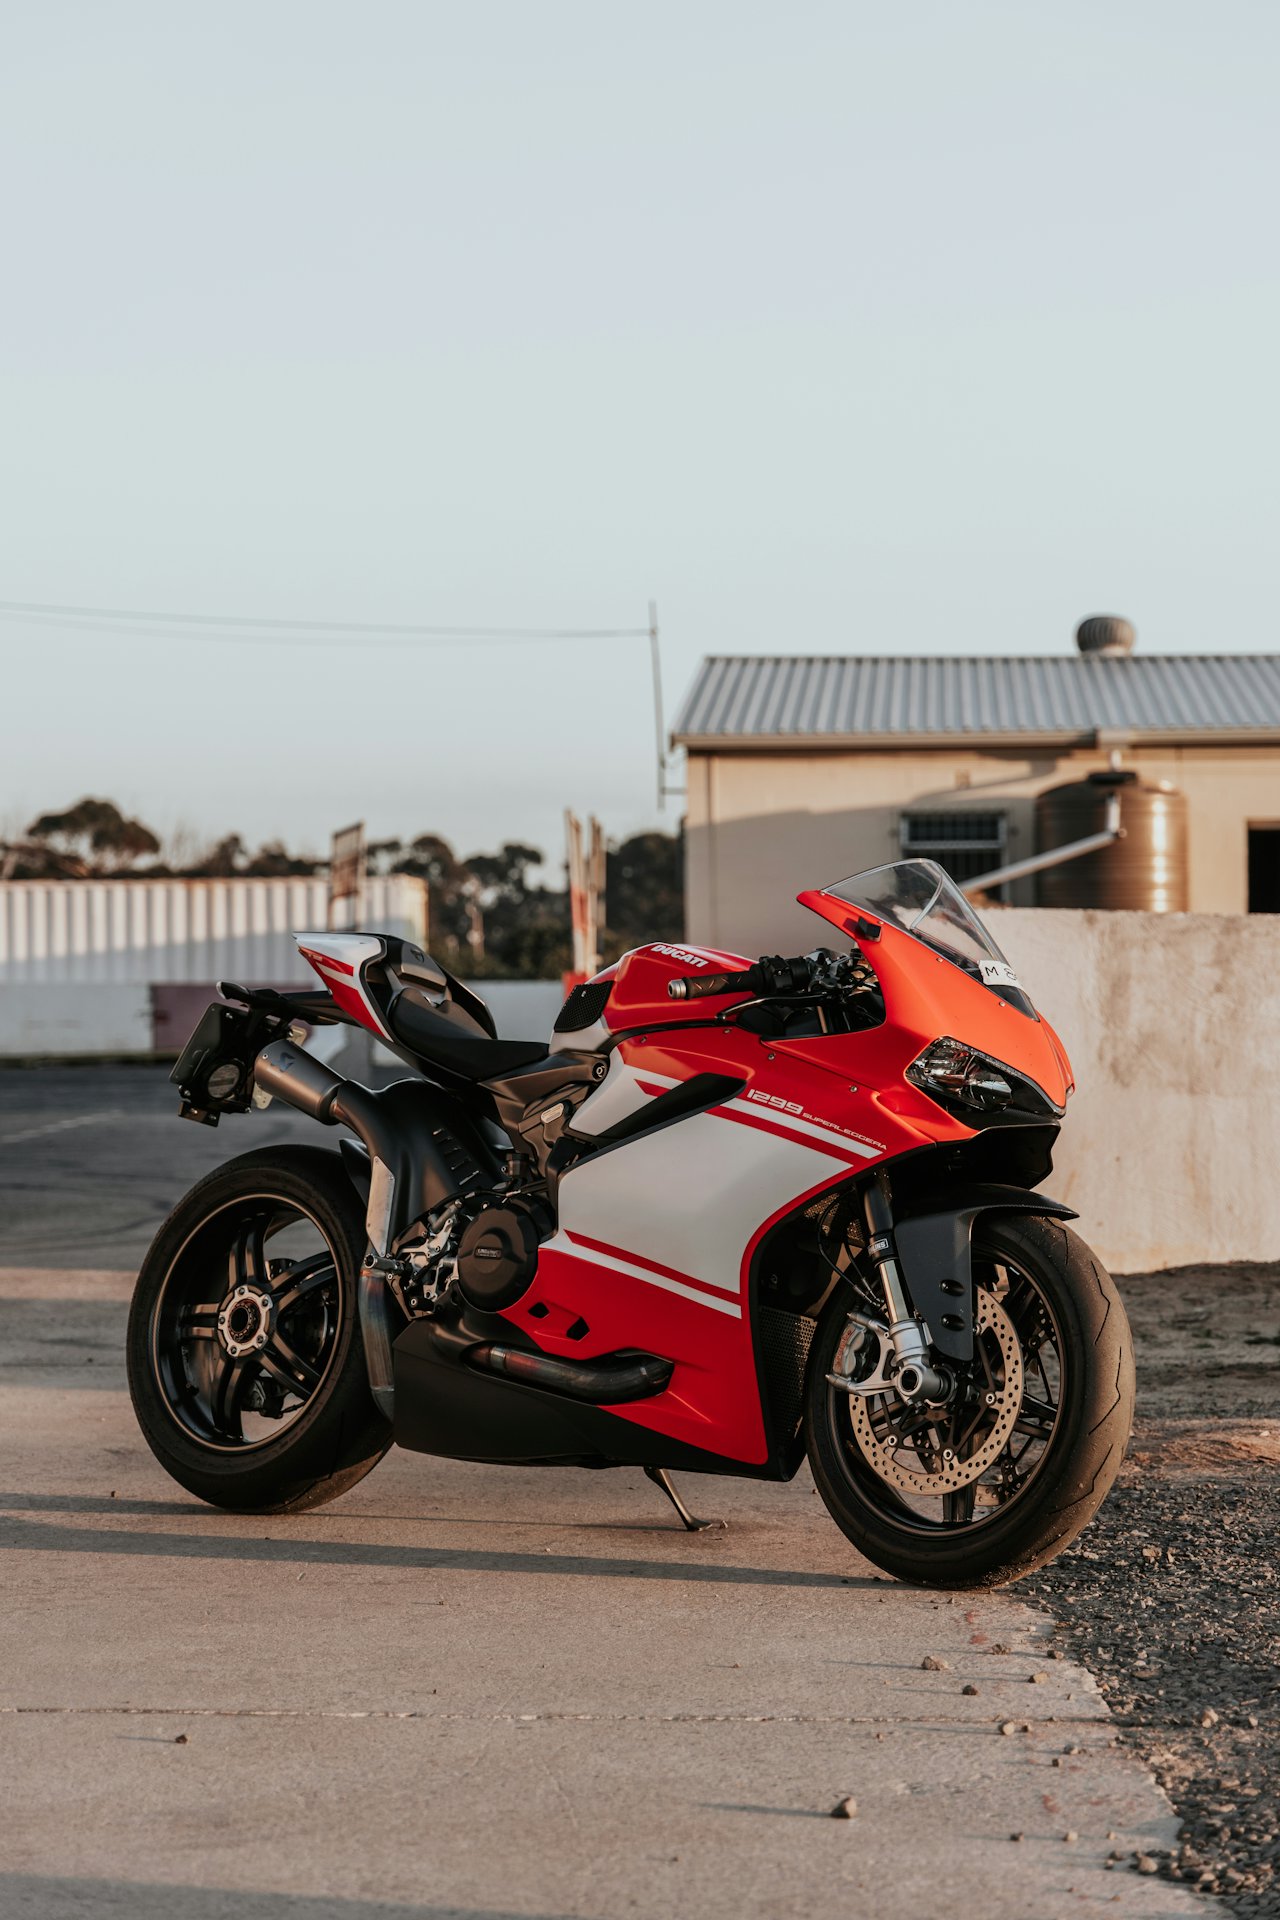
Ask most chain-maintenance guides how often to lube your chain and they’ll give you a tidy answer: every 500 to 1,000km, wax lube for the road, grease for the wet. That advice was written by someone standing in a garage in a climate that never sees 45°C bitumen, never rides two hundred kilometres of red dust corrugations before breakfast, and has never gone six hundred kilometres between fuel stops, let alone chain cleaner. It’s not wrong, exactly. It’s just not written for us.
Australia doesn’t just make chain maintenance harder — it changes the equation entirely. Heat, fine dust and genuinely brutal distances gang up on your drivetrain in ways a European test rider will rarely experience, and riders who follow imported advice to the letter often find their chain and sprockets cooked well ahead of schedule. This is the guide written for our roads: what actually accelerates wear out here, how to adjust your lube type and intervals for dust rather than just weather, and what chain life you should honestly expect once you factor in the conditions we actually ride in.
Why the Generic Advice Falls Apart Out Here
Start with the heat, because it’s the variable most guides ignore entirely. Ambient temperatures pushing past 40°C across the outback in summer are one thing, but the bitumen itself runs dramatically hotter again, and that heat soaks straight into your chain. Warm lube flows and flings more readily, which is great for penetration when you first apply it and terrible for retention an hour down the road. The light carrier oils in wax-based lubes evaporate faster in that heat too, leaving a thinner protective film sooner than the can’s marketing ever anticipated.
Then there’s the dust, and specifically the kind we have. Fine red bulldust doesn’t just sit on top of a chain the way coarser grit might — it works its way into every gap between the rollers, plates and seals, helped along by the constant high-frequency vibration of a corrugated dirt road. That vibration is the sneaky part: it doesn’t just shake dust loose, it hammers it deeper into the chain with every rotation, effectively turning your own lubricant into a grinding paste if there’s already grit sitting on the surface when you apply it.
Distance is the third factor, and it’s the one that’s hardest to fix with a better product. A generic maintenance interval assumes you’ll have the chance to clean and lube every 500 to 1,000km, but stretches like the Nullarbor, the Gibb River Road or the run through outback Queensland can put several hundred kilometres between towns, let alone somewhere sensible to kneel down with a rag and a brush. By the time many touring riders get a proper opportunity, the interval the manual assumed has already been blown out — sometimes badly.
Rethinking Lube for Dust, Not Just Weather
Most generic advice splits lube choice by weather: wax for dry road use, sticky grease-type lube for the wet. That’s a reasonable starting point in a temperate climate, but it misses the variable that actually matters most on Australian dirt — how tacky the lube is once it’s dry, and how much dust it’s going to grab as a result. A sticky, high-tack chain lube designed to cling through a European winter will happily cling to bulldust as well, and once that mix starts working through the chain under corrugation vibration, you’ve built yourself a lapping compound.
The better approach for anyone regularly riding unsealed, dusty roads is to choose lube by surface, not season. A wax-based lube that cures to a drier, less tacky film sheds dust far better than a wet lube, even though it looks less impressively glossy on the shelf. Save the heavier, tackier lubes for genuinely wet, sealed-road touring where moisture displacement matters more than dust resistance, and default to a wax or light dry-film lube the moment gravel and corrugations enter the picture — regardless of how hot or dry the day feels.
Intervals need the same rethink. On sealed bitumen in the heat, stretching towards the top of the generic 500 to 1,000km window is usually fine. The moment you’re on dusty, corrugated roads, that window should shrink hard — think every fuel stop, or every 200 to 300km, with a proper clean beforehand rather than lube layered over grime. Skipping the clean step is the single biggest mistake we see touring riders make out here, because on corrugations, lubing over dust doesn’t protect the chain — it accelerates exactly the wear you’re trying to prevent.
Out here, a chain doesn't fail from neglect so much as death by a thousand corrugations — every kilometre of dust-caked washboard grinding a little more life out of it than the manual ever accounted for.— Diego Marroquín, Adventure Correspondent
Realistic Chain Life in Australian Conditions
Generic guides love to promise a well-cared-for chain will run past 25,000km, and on clean, temperate, mostly-sealed roads, that’s a fair call. It’s also, frankly, an optimistic number for a lot of Australian riding. Add meaningful stretches of dusty, corrugated dirt into the mix — the exact conditions that draw riders to adventure bikes in the first place — and even a scrupulously maintained chain is working through the three-pronged attack of heat, grit and long intervals between proper attention. Expecting noticeably shorter service life on outback-heavy touring bikes isn’t pessimism; it’s just honest planning.
The flip side is worth saying too: if your riding is mostly sealed-road commuting or touring, even in serious heat, you’re not doomed to short chain life. Heat alone, managed with slightly tighter lube intervals and a lube chosen to resist flinging off in the warmth, is a manageable problem. It’s the combination of heat, dust and corrugations together — not any single factor — that really shortens a chain’s life, which is exactly why the generic advice, built around riders who rarely see all three at once, undersells the risk for anyone doing real outback distance.
For riders in colder climates, the day the bike goes away for winter is a bittersweet one. But a machine simply parked and forgotten for months emerges in spring with a flat battery, gummy fuel, corroded surfaces and flat-spotted tyres. A few hours of preparation now spares you weeks of frustration and expensive repairs later, and it means your bike wakes healthy and ready on the first tempting day of the new season. The difference between a bike that fires up first time in spring and one that needs a costly trip to the workshop is almost always the care taken the previous autumn.
Think of winter storage as putting your motorcycle into careful hibernation rather than abandonment. The enemies are the same everywhere — moisture, stale fuel, a discharging battery and stationary tyres — and each has a simple defence. None of it requires specialist skills or an expensive workshop, just a free afternoon and a little care taken before the first hard frost. Work through the shutdown checklist below, and the spring wake-up becomes a pleasure rather than a chore.
Clean and Protect First
Always store a bike clean. Road grime, dead insects and salt hold moisture against the metal and quietly encourage corrosion over the dormant months. Wash and thoroughly dry the whole machine, then apply a coat of wax to painted surfaces and a light spray of corrosion inhibitor to bare metal, fasteners and the exposed forks. Lube the chain generously before storage so it does not sit unprotected. A clean, waxed bike simply survives the winter far better.
Pay particular attention to the parts that hide moisture. Dry under the seat, around the swingarm and beneath the mudguards, and work a rag into the nooks where water pools. A light film of protective spray on switchgear, cables and lever pivots keeps them moving freely, but keep it well away from the brake discs, pads and tyres, where any oil is dangerous. Ten minutes of thoroughness now prevents the dull film of corrosion that greets careless owners in spring.
Fuel, Oil and Fluids
Modern fuel degrades and can varnish inside the tank and carburettors or injectors within weeks. Add a fuel stabiliser, then run the engine for a few minutes so the treated fuel reaches the whole system, and fill the tank close to the top to leave little room for condensation and rust. It is also good practice to change the oil and filter before storage rather than after, because used oil carries acids and moisture that you do not want sitting against engine internals all winter.
Do not forget the coolant and brake fluid, either. Confirm the coolant has enough antifreeze to survive the lowest temperature your storage space will see, because a frozen engine can crack a block. Brake fluid absorbs moisture over time, so if it is due for a change, storage is a sensible moment to do it. On carburetted bikes, some riders drain the float bowls to stop fuel varnishing the tiny jets, which is cheap insurance against a difficult spring start.
Battery and Tyres
A battery left connected slowly drains and can be ruined by freezing when flat. Either remove it to a cool, dry place or, better, connect an automatic smart charger, often called a tender or maintainer, which keeps it topped up without overcharging. For the tyres, inflate them slightly above their normal pressure and, ideally, get the bike off the ground on paddock stands so no single spot bears the weight for months. If you cannot lift it, move the bike every few weeks to rotate the contact patch.
Cold is hard on batteries, so even a healthy one benefits from that maintenance charge over a long lay-up. If you remove it, store it off bare concrete on a shelf and give it a top-up charge every month or so. For the tyres, remember that flat spots from months of standing may not disappear the instant you ride again, which is one more reason to take that first spring outing gently until everything has warmed through and settled back into shape.