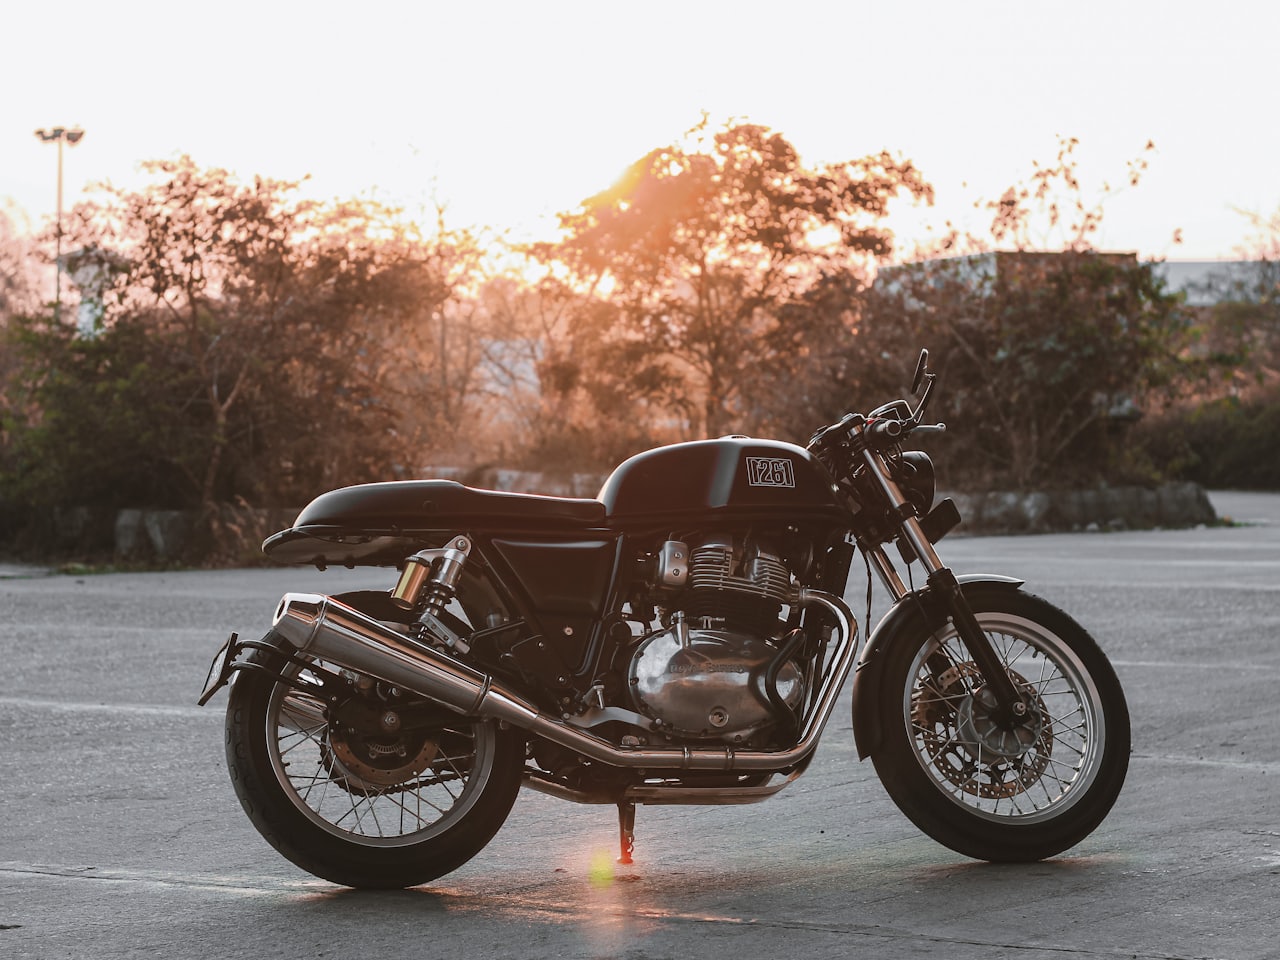
Everyone who has ever leaned over a used Ducati Scrambler in a dealer’s yard has felt the same tug. The trellis frame glows red under the paint, the tank is short and stubby in exactly the right way, and the whole bike promises a decade of easy, stylish riding for less money than almost anything else wearing an Italian badge. I have bought two of these things used, sold one at a loss I fully deserved, and watched enough friends get burned to say this plainly: the Scrambler is a genuinely brilliant used buy and a genuine minefield, often on the very same example.
That contradiction is the whole story. Ducati built the Scrambler to be a lifestyle object first and a motorcycle second, and it sold in numbers that flooded the used market with bikes bought by people who had never owned anything Italian before and had no idea what that actually meant, day to day. Some of those bikes were babied. Plenty were not. The trouble is they all look identical in a set of forecourt photos, and the difference between the good one and the money pit is buried in places a casual look-over will never find. Here is what actually goes wrong, what a fair price looks like, and exactly where to put your hands before you put down a deposit.
The Belt Job Nobody Budgets For
Start with the engine, because it is where the real money hides. The Scrambler’s desmodromic twin uses rubber timing belts to drive its camshafts, and Ducati has always specified that these get replaced on a calendar, not just a mileage counter. A belt that has done only a few thousand miles over several years still needs changing on schedule, because the rubber perishes with age and heat cycling whether or not the bike has actually been ridden anywhere. This is the single most common thing I see private sellers either not know about or quietly not mention, and it is not a cheap job to discover you need after the fact.
The maddening part is how invisible a missed belt service is from the saddle. The bike starts, idles and rides exactly the same right up until the day it does not, and a badly deteriorated belt on a desmodromic engine is not a gentle limp-home fault — it can put a valve where a piston very much does not want it to be. Ask for the invoice, not the verbal assurance. “It’s been serviced” from a seller who cannot produce a single dated receipt is not information; it is a hope you are being asked to buy alongside the bike. Budget accordingly even on a bike that looks freshly serviced, because you are inheriting whatever clock is already running the moment you sign — if the last belt change was years ago and the interval has quietly lapsed, you are not buying a sorted motorcycle, you are buying a bill with a number plate, and that reality should be reflected hard in the price you are prepared to pay.
The Trellis Frame Rot Hiding Under the Tank
The Scrambler’s steel trellis frame is one of its best design flourishes and one of its quietest liabilities. It sits exposed and low down, and — crucially — largely hidden under the fuel tank and side panels, where road grime, salt and moisture collect and simply stay put for years between anyone bothering to look. On a bike that has spent winters parked outside, surface corrosion on the frame tubes under the tank is extremely common, and on the worst-neglected examples it has progressed well past cosmetic.
This is less a Ducati design flaw than a Ducati inspection failure, because most buyers never think to lift the tank on a naked bike the way they would instinctively check the sills on a used car. Pull the seat, get a torch on the frame junctions and the area around the airbox, and look for bubbling paint, white powdery corrosion or actual pitting rather than just surface dust. A frame left to quietly rot through a few winters is a far bigger problem than a scuffed exhaust or a scratched tank, and it is dramatically easier to miss on a quick viewing.
That Rattle Is Probably Not the Emergency It Sounds Like
Almost every new Scrambler owner has the same moment of panic at idle: a distinct, dry, clattering rattle from the engine that sounds exactly like the notorious dry-clutch clatter older Ducatis are famous for. The Scrambler does not actually run a dry clutch — it uses a wet, hydraulically operated unit — but the desmodromic valve gear and slipper-clutch basket on these engines are simply audibly busier than a Japanese twin, and at idle it can sound alarmingly like something has come loose inside.
I do not want to wave this away entirely, because a rattle that changes character under load, gets noticeably worse with heat, or arrives alongside a clutch that feels grabby or inconsistent is a different matter, and deserves a mechanic’s opinion before you buy, not after. But the baseline mechanical clatter that spooks so many first-time Ducati owners into an unnecessary panic — and sometimes an unnecessary discount demand, or worse, an unnecessary walk-away — is, on a healthy example, simply how these engines sound. Know the difference before you judge a seller for it, or talk yourself out of a perfectly sound motorcycle.
Patchy Dealer History Is the Norm, Not the Exception
Here is the uncomfortable truth about the Scrambler’s ownership base: a huge proportion of these bikes were bought by riders drawn in by the styling rather than the badge’s racing pedigree, and plenty of them serviced the bike the way they would service a scooter. Ducati main dealers are not everywhere, official servicing is not cheap, and a meaningful slice of the used Scrambler population has spent at least part of its life at an independent garage, or worse, at nobody’s garage at all beyond an occasional oil change.
This matters because a full, documented main-dealer history genuinely commands a premium on this bike, more than it would on something mechanically simpler and more forgiving. A stack of independent-specialist receipts is not automatically a red flag — plenty of excellent Ducati specialists work outside the franchised network — but a service book with gaps, guesswork or nothing at all should worry you specifically on a Scrambler, because the belt and valve-clearance work that keeps this engine healthy is exactly the kind of job that gets quietly skipped by an owner chasing a cheap annual test rather than genuine mechanical health.
What a Fair Used Scrambler Actually Costs
Every rider eventually reaches the same fork in the road: buy the machine engineered to erase distance, or buy the one engineered to ignore the road altogether. Heavyweight tourers like the Honda Gold Wing and BMW R1250RT are the first answer — rolling first-class cabins built to make a thousand-kilometre motorway day feel almost restful. Adventure-sport machines like the KTM 1290 Super Adventure S and Ducati DesertX are the second — tall, torque-heavy brutes that treat a rutted fire road as just another lane to devour.
I have swapped between both camps enough times to know the choice is rarely about which bike is better. Both categories cost broadly similar money, both will happily swallow a continent, and both will make you feel like the main character at every fuel stop. But they solve the problem of “big motorcycle” in almost opposite ways, and picking the wrong one is one of the more expensive mistakes a rider can make. This is a guide to the two philosophies, not a shootout between four specific models, so you can work out which one actually matches how — and where — you ride.
Two Very Different Answers to the Same Question
The heavyweight tourer’s entire design brief starts and ends with the rider’s comfort. Full fairings, deep adjustable screens and — on the Gold Wing — a seven-speed dual-clutch automatic gearbox with reverse all exist to strip friction out of covering ground. These are bikes built by engineers who assumed, correctly, that most owners spend the overwhelming majority of their mileage on smooth, sealed roads, often two-up, often for days at a time.
Adventure-sport bikes start from a different premise: that the destination might not have a proper road leading to it. Long-travel suspension, spoked wheels sized for genuine off-road rubber, and a chassis built to be stood on rather than sat in take priority, with touring comfort added as a welcome bonus rather than the founding principle. The DesertX’s 250mm of ground clearance and 21-inch front wheel exist for reasons the Gold Wing’s designers never had to think about.
Comfort on the Motorway: The Long, Straight Truth
Motorway comfort is where the heavyweight tourer simply does not lose. The Gold Wing’s 1833cc flat-six and the R1250RT’s 1254cc ShiftCam boxer both deliver huge, unhurried torque with almost no vibration transmitted to the rider, and both carry a fairing and screen engineered specifically to kill buffeting at sustained highway speed. Ride either one for six hours and you arrive refreshed rather than wrung out — that is the entire point of the exercise, and both machines nail it.
The adventure-sport pair can still cover big miles, but the experience is noticeably rawer. The KTM’s 1301cc V-twin and the Ducati’s 937cc Testastretta twin both have real character, and the KTM in particular offers genuinely strong radar-based adaptive cruise, but the taller, more upright stance catches more wind, the seats are firmer, and both engines transmit more of themselves through the bars and pegs. It is not unpleasant — some riders actively prefer feeling connected to the road — but it is a different species of comfort to the tourers’ isolation-tank plushness.
Weight tells the rest of the story at a standstill and in slow traffic. The Gold Wing’s 383kg and the R1250RT’s 279kg both demand respect at parking speed, and neither is a bike you casually muscle around a tight car park. The KTM at 249kg and the DesertX at 223kg are lighter and noticeably easier to paddle, filter and park, even though both still feel substantial once you are aboard and rolling.
Off the Tarmac and Down a Back Road
Take either heavyweight tourer off sealed tarmac and the conversation ends quickly. Cast wheels, road-biased tyres and modest ground clearance — 130mm on the Gold Wing, 145mm on the R1250RT — mean a gravel car park is about as adventurous as either bike is designed to get. These are exceptional machines on the surface they were built for, and honest about the surface they were not.
The KTM and the Ducati exist precisely to answer that gap. Spoked wheels, a 21-inch front hoop on the DesertX, 220mm to 250mm of ground clearance and long-travel WP or KYB suspension mean genuine gravel, hard-packed trail and washboard back road are all within reach, not just in the brochure but in reality. Dedicated off-road ride modes and adjustable traction control — and, on the DesertX, a chassis clearly influenced by rally-raid machinery — back that promise up with real substance.
It is worth being honest, though, that neither the Super Adventure S nor the DesertX is a lightweight enduro bike in disguise. At 249kg and 223kg respectively, both still ask for genuine skill and upper-body strength once the surface turns loose, steep or rutted, and they are no substitute for a proper dual-sport if serious trail riding is the actual goal rather than the occasional gravel detour. On a twisting, well-surfaced back road the picture flips again: the R1250RT’s Telelever front end and genuinely sporty chassis heritage let it carry real pace through sweepers despite its bulk, while the adventure-sport pair’s taller centre of gravity trades a little of that tarmac precision for the ability to shrug off a mid-corner pothole that would have a tourer’s rider gritting their teeth.
Luggage and Pillion Life: Living With It Day to Day
Pillion accommodation is arguably where the gap between these two categories is widest. The Gold Wing remains close to the best two-up motorcycle sold anywhere: a proper backrest, generous legroom and available heated seating front and rear turn a passenger into a genuinely happy passenger rather than a tolerant one. The R1250RT follows the same script with slightly less overall bulk but the same underlying philosophy — the pillion matters just as much as the rider.
Adventure-sport machines treat a passenger as a capability rather than a design pillar. Both the KTM and the Ducati can carry one, and both offer accessory seats and grab rails, but the narrower perch, taller reach to the pegs and reduced wind protection make a long two-up motorway stint noticeably less comfortable than on either tourer. If your riding regularly involves a partner and a proper touring itinerary, this single factor may decide the whole argument on its own.
- Integrated, weatherproof panniers and top box come standard on the heavyweight tourers; adventure-sport luggage is usually a well-designed aftermarket add-on
- A genuine two-up cockpit — backrest, armrests, heated seating options — on the Gold Wing and R1250RT that neither adventure-sport bike attempts to match
- Real off-road capability, spoked wheels and serious ground clearance on the KTM and DesertX that neither tourer can safely access
- A commanding, stand-and-see-over-traffic seating position and genuine filtering agility that only the adventure-sport pair can offer
- Strong adaptive cruise control now available across both categories, closing what used to be a clear touring-only advantage
Which Rider Actually Buys Which
The heavyweight tourer suits the rider whose year is built around long, mapped-out motorway trips, often two-up, who values plush comfort and minimal physical effort over versatility — the Gold Wing’s DCT automatic gearbox in particular removes the last bit of mechanical fuss from the equation. This is the rider who wants the destination to matter more than the journey’s texture, and who has the garage space and budget for a bike that rewards patience rather than adrenaline.
The adventure-sport buyer wants breadth. They may tour, but they also want the option of a gravel detour, a green lane, or simply a more commanding view over traffic on the daily commute. They are usually willing to trade some of the tourer’s plushness and pillion luxury for a bike that can genuinely do more things, even if it does each of them slightly less lavishly than a dedicated specialist would.
Most riders in this country put the bike away in October and dig it back out in March. I don’t blame them — cold hands, salt-caked chains and eight hours of darkness either side of the commute are a hard sell. But five months of storage is also five months of atrophying skills, a flat-spotted battery and a machine you’ll barely recognise come spring. The alternative to hibernation isn’t heroism, it’s specification: get the right kit on the right bike and a genuine UK winter commute stops being a survival exercise and becomes just another ride, done in more layers.
This isn’t a list of vague comfort tips. It’s a practical build sheet — heated grips and gear, the tyre compound that actually matters below 7°C, keeping road salt from eating your drivetrain, why ABS and traction control stop being a nice-to-have and start being the whole point, lighting for a commute done mostly in the dark, and which categories of bike genuinely shrug off a British winter rather than merely enduring it.
Heated Grips and Gear Are Not Optional
Numb fingers aren’t a minor discomfort — they’re a safety problem. Lose fine motor control in your fingertips at motorway speed and your braking and clutch feel both degrade before you’ve noticed anything is wrong. Heated grips are the single highest-value modification you can make to a winter bike, full stop. They draw modest current, most factory electrical systems shrug them off without complaint, and even a basic aftermarket set with a proper thermostatic controller turns a sub-zero commute from an ordeal into a non-event. If your bike doesn’t already have them, this is where the money goes first, ahead of everything else on this list.
Grips are only half the job. A heated jacket liner or vest, wired through a fused lead straight to the battery, keeps your core warm enough that your brain stays on the road rather than fixating on the cold — and a warm rider makes sharper decisions. A Pinlock-style anti-fog visor insert is close to mandatory once your breath starts condensing on the inside of the lid, and a decent neck tube stops draughts finding the one gap your jacket collar leaves. Just be honest about total load: stack heated grips, a heated vest, a heated seat and a set of auxiliary lights onto an older bike’s charging system and you can genuinely outrun what the alternator produces at idle. Get the charging system checked before you add the third or fourth accessory, not after the battery starts sulking.
Tyres: Buy the Compound, Not Just the Size
Rubber has a working temperature window, and most sports-orientated compounds stiffen up hard as the mercury drops. Below roughly 7°C, a compound pliable at 30°C on a summer B-road can feel glassy and vague, exactly when you need the opposite. This is the most underrated winter upgrade: fit a sports-touring or commuter-focused compound with a broader, more consistent temperature range rather than assuming your summer rubber will simply cope. It costs nothing extra over replacing worn tyres with the same compound you removed, and the difference is bigger than most riders expect.
Tread pattern matters as much as compound. A tyre with generous grooving and sipes clears standing water and slush far more effectively than one optimised for dry-line grip — don’t assume a deep, aggressive tread means more security, since off-road-biased knobblies can feel notably squirmy on wet tarmac despite looking tougher. Resist the temptation to drop pressures for more grip in winter, too; an underinflated tyre heats unevenly and handles worse in the cold, not better. Stick to the manufacturer’s spec, and check it more often than in summer, because cold air alone will quietly drop your psi over a few weeks.
Chain, Corrosion and the War Against Road Salt
UK winter roads are treated with grit and salt, and salt is relentless on anything metal. An unprotected chain can develop a visible bloom of surface rust within days of a salted commute, and from there wear accelerates fast. Switch to a wax-based chain lube for the season — it doesn’t sling off at speed the way a wet lube does, and crucially it doesn’t attract the same amount of road grime into the rollers. Halve your usual lubing interval too; if you’d normally lube every few hundred miles in summer, treat winter as needing roughly double the attention.
Chain aside, salt goes after fasteners, brake calipers, exposed alloy and electrical connectors just as happily. A corrosion-inhibiting spray applied to these areas before the season starts is cheap insurance against seized bolts and crusted terminals in spring. Rinse the bike with plain fresh water after any salted-road ride, paying attention to the underside, wheels and calipers, but keep a pressure washer well away from wheel bearings, the headstock and swingarm pivots — you’ll do more harm forcing water past a seal than the salt would have done left alone. Worth noting: if your next bike has shaft or belt final drive, you sidestep most of this entirely, which is a genuine and underrated winter-commuting advantage.
- Fit heated grips if you don’t already have them — the highest-value single upgrade.
- Switch to a sports-touring or commuter tyre compound rather than trusting summer rubber below 7°C.
- Move to a wax-based chain lube and roughly double your normal lubing frequency.
- Apply a corrosion inhibitor to fasteners, calipers and electrical connectors before the salt starts.
- Rinse the underside, wheels and calipers after salted-road riding — avoid jetting bearings and seals directly.
- Check tyre pressures more often; cold air drops psi faster than you’d expect.
ABS and Traction Control Earn Their Keep in the Wet
Picture a wet roundabout in December: a diesel sheen from idling traffic, a mat of fallen leaves gone slick, a drain cover polished smooth by a thousand tyres. Under hard braking into that scenario, a locked front wheel on a painted line or a manhole cover is how good riders end up on the ground through no fault of their own. ABS doesn’t stop this happening less often than you’d think — it stops it happening to you, buying back the margin that a low-grip surface takes away in an instant. In my testing, any bike without at least switchable ABS is a genuinely harder sell for winter commuting, no matter how good it is in July.
Traction control does the same job on the way out of a junction rather than into one, smoothing a clumsy or startled throttle input so the rear doesn’t suddenly spin up on a greasy patch you didn’t see. A dedicated rain or road riding mode, which softens throttle response and lets the electronics intervene earlier, is worth having and worth actually using rather than defaulting to the sportiest setting out of habit. Increasingly, mid-range bikes carry cornering-sensitive, IMU-based systems that add intervention margin exactly when you’re leant over — precisely the moment a low-grip surface bites hardest. None of this is a substitute for good technique, though; it widens the margin for error, it doesn’t remove the need to ride within it.
Traction control never rides for you. It just quietly widens the gap between a bad decision and a bad crash.— Sam Whitlock, Racing Editor
Lighting and Visibility When the Sun Barely Rises
By December, plenty of UK commutes are done entirely in the dark, both ways. Add spray thrown up by other traffic, a driver’s attention already stretched thin by the conditions, and dark winter kit against a dark wet road, and you have a genuine visibility problem that no amount of skilled riding fully solves alone. Auxiliary lighting or a proper LED headlight upgrade pays for itself quickly, and reflective or hi-vis elements on your jacket and helmet make a real difference to how early other road users register you exist. It’s also worth remembering that a film of road grime and salt spray dulls a headlight lens or a visor far faster in winter than you’d notice — a quick wipe before you set off matters more than it sounds like it should.
Cold weather is also unkind to batteries, and a battery already working harder to crank over a cold engine has less spare capacity for heated grips and extra lighting on top. Check battery health and terminal connections before the season properly bites, and fit a smart charger if the bike sits for stretches of days rather than being ridden daily. None of this replaces riding position: sit a little further from the gutter where a following driver has more time to register your lights, cover the brake earlier than you would in summer, and give yourself the stopping distance that assumes the car behind hasn’t quite seen you yet.
Which Bikes Actually Cope With a Genuine UK Winter Commute
Adventure bikes are the standout category for this, and it isn’t close. An upright, commanding riding position, a generous screen, and hand guards fitted as standard all cut wind chill dramatically before you’ve spent a penny on aftermarket kit, while longer suspension travel shrugs off potholes and sunken drain covers hidden under standing water rather than transmitting every one into your wrists. The Yamaha Ténéré 700, Triumph Tiger 900, Honda Africa Twin, Suzuki V-Strom 800DE and Royal Enfield Himalayan 450 all fit this brief comfortably. Push further up the range into full tourers like the BMW R 1250 RT or Honda Gold Wing and you get heated grips and seats as standard plus shaft drive that removes chain maintenance from the equation entirely — the trade-off is size and weight that can feel like a lot of bike for a tight urban commute.
Nakeds and scooters both deserve more winter credit than they get. A light, upright naked like the Yamaha MT-07 or Kawasaki Z650 is genuinely easy to live with once you’ve fitted heated grips and a small screen, and its low weight helps at the low-speed, greasy-roundabout moments that catch heavier bikes out. Scooters go further still: proper legshields and a floorboard shelter your legs and feet from spray more effectively than any textile trouser, and no clutch lever to work through stop-start traffic removes a genuine source of fatigue on a cold, wet commute — the Honda PCX 160, Yamaha TMAX 560 and Vespa GTS 300 are all quietly excellent winter commuters that rarely get mentioned in this conversation. What fights you hardest is a committed sportsbike: aggressive clip-ons, zero wind protection and a riding position built for a warm racetrack rather than a cold ring road. It’s a brilliant machine for July and a genuinely miserable one for January, and no amount of heated grips fixes the fundamental mismatch.
Building the perfect UK winter bike is mostly not about buying a new one. Heated grips, the right tyre compound, disciplined chain and corrosion care, decent lights and electronics you actually trust will transform almost anything you already own — that’s where the money should go first, before a single thought about a different bike. But the machine underneath does matter, and an upright, well-protected commuter will always make the darkest, wettest months easier than a bike built for a summer that, right now, feels a very long way off. Get the basics right and winter stops being a season you endure on two wheels — it becomes just another one you ride through.
You pin the throttle from a dead stop and the bike just does not go. Revs climb, the exhaust note rises, but the shove you remember from a few thousand kilometres ago has gone soft and rubbery. This is one of the most common complaints we hear, and also one of the easiest to misdiagnose, because at least three unrelated faults produce almost the exact same symptom: a strangled air filter, worn clutch plates, and lazy fuelling. Guess wrong and you will pay a mechanic to strip a clutch that was never the problem.
The fix is to work through the cheap, easy checks first and only escalate once you have ruled them out. Pulling a clutch cover is a job with gaskets and often new plates to buy — you do not want to do it twice because you skipped a five-minute filter check first. Below is the order we actually use in the workshop, complete with the go or no-go signs that tell you whether to move to the next step or stop right there.
Read the Symptom Before You Start
Where the flat spot happens tells you almost as much as what causes it. A bike that bogs from idle and only wakes up once you are already rolling, or that struggles to hold a steady low throttle without hunting and surging, usually points at restricted airflow or a fuelling fault — the engine simply is not getting a clean, correctly mixed charge. A bike that revs freely with no load, sounds and feels perfectly healthy at speed, but refuses to accelerate hard from low RPM under real load — pulling away, overtaking, climbing a hill — points more towards clutch slip, because the engine is making the power and the rear wheel is not fully receiving it.
Listen for revs rising faster than road speed under hard acceleration, particularly in a low gear: that classic feeling of the engine racing ahead of the bike is the single strongest tell for a slipping clutch. Smell for anything unusual too — a faint burning smell after a hard launch is a fairly reliable sign of clutch plates cooking themselves. Neither symptom is proof on its own, but together they should steer where you start looking first.
What You Will Need
None of this requires specialist tools. A basic kit gets you through every check below, and most of it you probably already own if you do any of your own servicing.
- A socket or spanner set to remove the airbox lid and spark plug.
- A spark plug socket with a rubber insert, plus a feeler or gap gauge.
- A torch or phone light to inspect filter and plug colour properly.
- A clean rag, plus a notepad to log clutch free play before you touch it.
- Your owner’s manual, for the exact plug gap, clutch play and idle speed.
Step One: Air Filter Condition
This is the five-minute check that should always come first, because a clogged filter starves the engine of air, richens the mixture, and saps power precisely where you would feel it most: low-speed pickup. Pull the seat or side panel, open the airbox, and lift the element out. Hold it up to a light source — a paper filter should let daylight through fairly evenly; a foam filter should look and feel lightly oiled, not caked and stiff. Go sign: the filter is clean, or a simple clean and re-oil restores pickup on a test ride — problem solved cheaply. No-go sign: the filter is already clean, or replacing it changes nothing — keep going, because a second fault is still hiding.
While the airbox is open, glance at the intake boot and hose clamps for cracks or looseness too. An unmetered air leak here behaves almost like a blocked filter in reverse — it can make the mixture run lean and gutless at small throttle openings — and it costs nothing to check while you are already in there.
Step Two: Spark Plug Health
With the airbox buttoned back up, pull the spark plug or plugs next. This tells you two things at once: the plug’s own condition, and — from its colour — how the engine has actually been running. A healthy plug should show a light tan or greyish-brown deposit on the ground electrode. Black, sooty deposits point to a rich mixture or a fouled plug struggling to fire cleanly under load; a chalky white deposit or a badly rounded electrode suggests it is simply worn out and losing spark energy exactly when you ask for full throttle.
Check the gap against your manual’s spec with a feeler gauge, and inspect the electrode for rounding — a worn electrode needs a stronger spark to jump the same gap, and that weakness shows up most under load, which is exactly the pickup problem you are chasing. Go sign: the plug is heavily worn, fouled, or badly gapped, and swapping it sharpens pickup. No-go sign: the plug looks correctly coloured, gapped to spec and only lightly worn — move on to the clutch.
Step Three: Clutch Plate Wear and Slip
This is the step people dread, but you can screen for clutch slip without opening anything. Start with cable or hydraulic free play at the lever — too little free play can leave the clutch permanently, partially disengaged, which reads exactly like plate slip. Adjust it to your manual’s spec first, because this five-minute fix solves more worn clutch complaints than people expect.
If free play is already correct, do a simple road test: on a safe, straight stretch, pull away in second or third gear rather than first and accelerate hard. A healthy clutch drives the bike forward in step with the rising revs. A slipping clutch lets the engine revs flare noticeably ahead of road speed, particularly under load or on an incline — the classic feeling of the engine wanting to go while the bike lags behind. Repeat the test a few times so you are not fooled by a one-off hesitation from something else entirely.
Go sign: revs and road speed track together even under a hard, loaded pull — the clutch is not your problem, so look harder at fuelling instead. No-go sign: revs flare independently of road speed, you catch a hot friction smell, or the bike has covered a high mileage with a heavy-handed riding style — the plates are almost certainly worn or glazed and it is time to plan a proper clutch inspection.
An American bagger doesn’t corner like a sportbike, brake like a naked, or care about lean angle the way a track bike does. What it does have to do is carry 700 to 900-plus pounds of motorcycle, plus a passenger, plus saddlebags and probably a tour-pack, down an interstate at 75 mph in a crosswind, on exactly two contact patches. Choose the wrong tyre for that job and you won’t just lose a bit of grip — you’ll get a rear that squares off in a few thousand miles, a front that goes light and vague at highway speed, or a sidewall that simply isn’t rated to carry what you’re asking it to.
Most bagger owners shop tyres the way they shop pipes: by brand loyalty, tread pattern, or how wide they can go before the fender needs cutting. That’s backwards. On a Harley Road Glide, Street Glide or Indian Challenger-style tourer, the tyre spec sheet — profile, load index, speed rating, and how the front and rear are engineered together — matters more than on almost any other class of motorcycle. This guide is about getting that right, not about which brand has the coolest tread pattern on the shelf.
Profile: Why It Matters More on a Bagger Than Anywhere Else
Tyre profile — the cross-sectional shape, essentially how rounded or squared the tread is — decides how a motorcycle transitions from upright to leaned over. On a sportbike this is about quick flickability into a hairpin. On a bagger it’s about something more fundamental: whether hundreds of pounds of loaded steel and two riders tips into a corner smoothly or fights you the whole way in.
Baggers run long wheelbases, typically in the 64 to 67-inch range, with heavily raked front ends and most of the weight sitting low and well back toward the rear axle. A rounder-profile tyre lets that mass roll into a lean progressively; a flatter, more squared profile — often the result of wear rather than original design — makes the same bike want to stand upright mid-corner and then drop in abruptly once it passes the flat spot. That’s exactly the kind of surprise you don’t want with a passenger on the back.
This is also why profile-related wear deserves more attention on a bagger than on almost anything else you’ll ride. Because baggers spend the overwhelming majority of their miles upright on the highway, the rear squares off faster and more predictably than it would on a bike ridden with more variety of lean angle. Once that happens, the bike starts to feel reluctant to turn and then falls into the corner rather than rolling into it — a handling change that shows up well before the tread is legally worn out.
Load Rating: What a Fully Loaded Two-Up Tourer Actually Weighs
Every tyre carries a load index molded into the sidewall — a number, paired with a speed-rating letter, that corresponds to the maximum weight that tyre can safely carry at speed. It’s one of the most important specs on a bagger tyre and the one riders check least. A replacement tyre can look identical to the original fitment, wear a respectable tread pattern, and still carry a lower load index than the tyre it’s replacing.
Do the math honestly before you buy. Start with your bike’s kerb weight, add a passenger, add saddlebags and a tour-pack loaded for a real trip rather than an empty test ride, and you’ll often find a fully dressed two-up tourer is asking its rear tyre to carry close to, or beyond, half a ton once you include the bike itself. Manufacturers spec the front and rear to cover that scenario at the bike’s rated gross weight; the mistake happens when riders swap to a wider or lower-profile tyre for looks and never check whether the load index still covers a fully loaded, two-up trip.
Speed rating matters here too, particularly if you’re chasing a wider custom rear. Going wider than stock sometimes means moving to a tyre line with a lower speed rating than the one it replaced, which is a bad trade for a motorcycle that’s going to spend hours at sustained interstate speed with a full load on board. If in doubt, match or exceed the load index and speed rating molded on your original tyre rather than just eyeballing the size.
Mileage: What All That Weight Does to a Rear Tyre
Weight is the enemy of tyre life, and baggers carry more of it, more consistently loaded, than almost any other motorcycle on the road. A rear tyre hauling a passenger, luggage and a torquey V-twin’s worth of throttle down the interstate simply won’t last as long as the same tyre on a solo commuter bike, and in my experience the rear on a heavily used two-up tourer often needs replacing at something like a third of the mileage the front will manage, sometimes less on serious touring miles through hot climates.
The single biggest lever you have over that number is pressure, checked cold, before the ride, with your own gauge rather than a forecourt airline. Bagger tyre placards typically list a higher rear pressure for two-up and loaded riding than for solo use, and running the solo figure with a passenger and full bags is one of the fastest ways to overheat and prematurely wear a rear tyre. It costs nothing and takes thirty seconds; there’s no excuse for skipping it on a bike this dependent on its rear contact patch.
Ask around any car park after a track day and eventually you’ll hear the story: a rider grabs a handful of front brake mid-corner, the ABS pulses, the bike stands up, and suddenly they’re heading for the hedge instead of the apex. The conclusion is always the same — the ABS did this to me. It’s a story that spreads fast, gathers detail with every retelling, and is almost always wrong in the one place that actually matters: the part where ABS gets blamed for a crash it was actively trying to prevent.
So let’s ask the provocative question properly, out loud, and then answer it honestly. Is your motorbike’s ABS trying to kill you? No. It categorically is not. What follows is why — how modern cornering ABS actually works, why the real-world picture points overwhelmingly in its favour, and the small handful of genuine edge cases where it can catch an unprepared rider off guard. Understand those edge cases and you stop fighting the system that is, by any honest measure, one of the best things ever bolted to a motorcycle.
How Cornering ABS Actually Works
Traditional ABS only ever asked one question: is a wheel about to lock? It compared wheel speed against expected road speed and released brake pressure the instant a lockup looked imminent, and it did this on the assumption that the bike was upright. Cornering ABS, now fitted as standard on almost every mid-size and large motorcycle sold new, asks a far smarter question, because it has a great deal more information to work with. A six-axis inertial measurement unit — the IMU — tracks lean angle, roll rate, pitch and yaw many times a second, feeding that data to the ECU alongside wheel speed and brake pressure.
With lean angle in the equation, the system can estimate the tyre grip genuinely on offer at that specific angle, rather than assuming you’re sat bolt upright with the full contact patch available. Lean the bike over and there is simply less rubber and less vertical load resisting a locked wheel, so the system tightens its tolerances and steps in earlier and more gently than it would during upright, walking-pace braking. That is precision, not panic — the electronics are quietly recalculating your traction budget dozens of times a second and only ever spending what is actually there.
Crucially, cornering ABS does not merely stop a wheel locking. Many systems also manage lean-angle-dependent brake distribution between front and rear, and the best of them work hand in hand with lean-sensitive traction control to keep the whole chassis settled under simultaneous braking and turning loads — a job no human nervous system can do at the speed the electronics operate.
The Real-World Record: Fewer Crashes, Not More
Strip away the anecdotes and the wider picture is remarkably consistent: insurers, safety researchers and manufacturers who track long-term claims data all point the same direction. Motorcycles fitted with ABS are involved in meaningfully fewer crashes than otherwise comparable non-ABS machines, and the gap is widest in precisely the scenario riders fear most — an emergency stop that goes wrong. The reason is unglamorous but decisive: most riders, under genuine panic, brake later and harder than they believe they do, and a locked front wheel at that moment ends in a low-side almost every single time. ABS simply removes that one specific failure mode from the equation, quietly and repeatedly.
None of which means ABS makes crashes impossible, and no honest reviewer would claim otherwise. It cannot manufacture grip that genuinely isn’t there — sheet ice, a diesel spill or a wheel already airborne over a mid-corner bump are still beyond anything a computer can fix. What it reliably does is convert the single most common cause of a braking crash — an unintended front-wheel lockup — into a complete non-event, over and over, for riders who would otherwise never have felt it coming.
Where ABS Genuinely Surprises Riders
The myth doesn’t come from nowhere, though, and being straight about where cornering ABS genuinely feels strange is the whole point of this piece. Loose gravel and hard-packed dirt are the biggest offender. ABS calibration is built around a wheel-speed model that assumes a reasonably consistent, high-friction surface; on loose stones that assumption breaks down constantly, because wheel speed naturally fluctuates as small stones roll and shift beneath the tyre. The system can misread that fluctuation as an impending lockup and release brake pressure right when you wanted maximum retardation, extending your stopping distance rather than shortening it. It’s exactly why serious adventure bikes ship with a switchable, reduced-intervention off-road ABS mode — and why leaving it in road mode on a gravel track is asking for trouble.
Mid-corner trail braking is the second genuine edge case, and it tends to catch sportier riders rather than novices. Trail braking deep into a bend — carrying a trace of front brake well past turn-in — is a legitimate, widely taught technique, but it asks the system to make its lockup calculation at the exact moment lean angle, load transfer and available grip are all shifting simultaneously. Push that combination right to the edge of what the tyre can actually give, particularly on cold rubber or a greasy patch, and cornering ABS will intervene to protect the front. That intervention — a firm pulse through the lever while you’re leaned right over — can feel abrupt to a rider who wasn’t expecting it, even though the system is doing precisely what it was designed to do.
A third, smaller surprise crops up when riders swap between bikes: a rear wheel lifting slightly under very hard front braking, or an unfamiliar amount of lever pulsing compared with whatever they rode last. Neither is a fault. It’s simply a different calibration philosophy, and the fix is familiarity with your own machine, not distrust of the technology fitted to it.
Cornering ABS has never once tried to kill me — but on at least two occasions, it has very obviously stopped me killing myself.— Hana Kobayashi, Features Writer
Riding With ABS Instead Of Fighting It
The riders who get the most out of modern ABS are the ones who stop treating it as a rival fighting their inputs and start treating it as a grip calculator working on their behalf. That means braking with real intent rather than hesitation: squeeze the lever progressively and with genuine commitment in a true emergency, because the system is built to be leaned on hard, not feathered nervously. Trust the pulse when it arrives — it is information, not malfunction — and resist the urge to snap the lever shut the instant you feel it, because that instinct defeats the entire point of the system.
It also means respecting the two edge cases above rather than resenting them. Switch to a gravel or off-road ABS mode before the tarmac runs out, not after you’ve already lost the front on loose stones. And if trail braking deep into corners is part of your riding, build that habit gradually on familiar roads or a track day first, and accept that an intervention there is the electronics catching a margin you had already spent — not a machine deciding to work against you.
- Learn where your bike’s ABS modes live and switch to gravel or off-road mode before the surface changes, not after.
- Squeeze the front brake progressively and with real commitment in an emergency — ABS rewards decisive input, not hesitation.
- If you trail brake, build the technique gradually on familiar roads or a track day before pushing it near the limit.
- A firm pulse at the lever mid-corner is the system working, not failing — don’t snatch the lever shut in response.
- Spend five minutes in an empty car park learning exactly how your specific bike’s ABS feels before you ever need it for real.
- Only disable ABS if your bike offers it as a deliberate, understood option — never out of a vague sense that it’s “in the way”.
Verdict
Your motorbike’s ABS is not trying to kill you. On the balance of overwhelming real-world evidence, it is one of the most quietly effective pieces of engineering ever fitted to a motorcycle — a system that has converted countless would-be low-sides into uneventful, forgettable stops, most of which the rider involved never even registered as a near miss.
The edge cases are real, but they are narrow, well understood and entirely manageable: respect loose surfaces, build your trail-braking technique deliberately, and treat every pulse at the lever as useful information rather than betrayal. Learn those few rules and cornering ABS stops feeling like an unpredictable passenger on your motorcycle, and starts feeling like exactly what it is — the best safety net riding has ever built in.
Buying your first motorcycle is one of the great rites of passage in a rider’s life, and it should feel exciting. It can also feel overwhelming, because the choice you make shapes how quickly you build confidence, how much you spend and whether the whole adventure sticks. Get it right and the bike becomes a trusted teacher; get it wrong and it becomes an expensive ornament gathering dust in the corner of the garage.
The good news is that choosing well is mostly about honesty and patience rather than horsepower. This guide walks you through every stage — understanding your own needs, matching a category to your riding, weighing new against used, setting a realistic budget and inspecting a machine before any money changes hands. Take your time here and the reward is a bike you will actually enjoy learning on.
Start With an Honest Self-Assessment
Before you look at a single listing, take stock of who you are as a rider. How tall are you, and can you get the balls of both feet down comfortably at a stop? What is your typical journey — city gridlock, open motorway, or twisting back roads? How much genuine seat time do you have? New riders almost always overestimate the machine they can handle. A bike you feel relaxed on will be ridden often and mastered quickly, while an intimidating one quietly stays parked and teaches you nothing.
Licensing rules also shape your options, and they vary from country to country. Many regions operate tiered systems — such as Europe’s A1, A2 and full A licences — that cap the power a newer rider may use, and insurers frequently reward smaller-capacity machines with far lower premiums. Check exactly what you are legally entitled to ride before you fall for something you cannot yet licence or afford to insure, and treat any restriction as a helpful stepping stone rather than a frustrating limitation.
Match the Category to Your Riding
Motorcycles come in families, and each rewards a different life. For most beginners a standard or naked bike in the 300 to 500cc bracket hits the sweet spot: upright ergonomics, gentle power delivery, low weight and forgiving manners. Small adventure bikes and modern classics make superb all-rounders too. What you should avoid on day one is a litre-class supersport, which serves race-track power with no patience for mistakes.
- Standard and naked bikes — the classic first choice for their upright seating and easy manners.
- Small adventure bikes — tall, comfortable and happy on rough surfaces; the Royal Enfield Himalayan 450 is a friendly example.
- Modern classics and retros — approachable power, timeless looks and usually a low, reassuring seat.
- Small cruisers — relaxed and confidence-inspiring, though less rewarding on truly twisty roads.
- Leave full-power supersport and litre bikes until you have a season or two behind you.
New or Used: The First-Bike Question
There is a strong case for buying used as your first machine. Beginners drop bikes — in car parks, at junctions and while learning slow-speed control — and a scuffed second-hand bike hurts far less than a scratched showroom model. Used bikes also shed the steepest depreciation before you ever own them. A new bike, by contrast, brings a warranty, a known history, finance options and the reassurance that nothing has been abused. If money is tight, a well-kept used bike frees up cash for quality protective gear, which matters more.
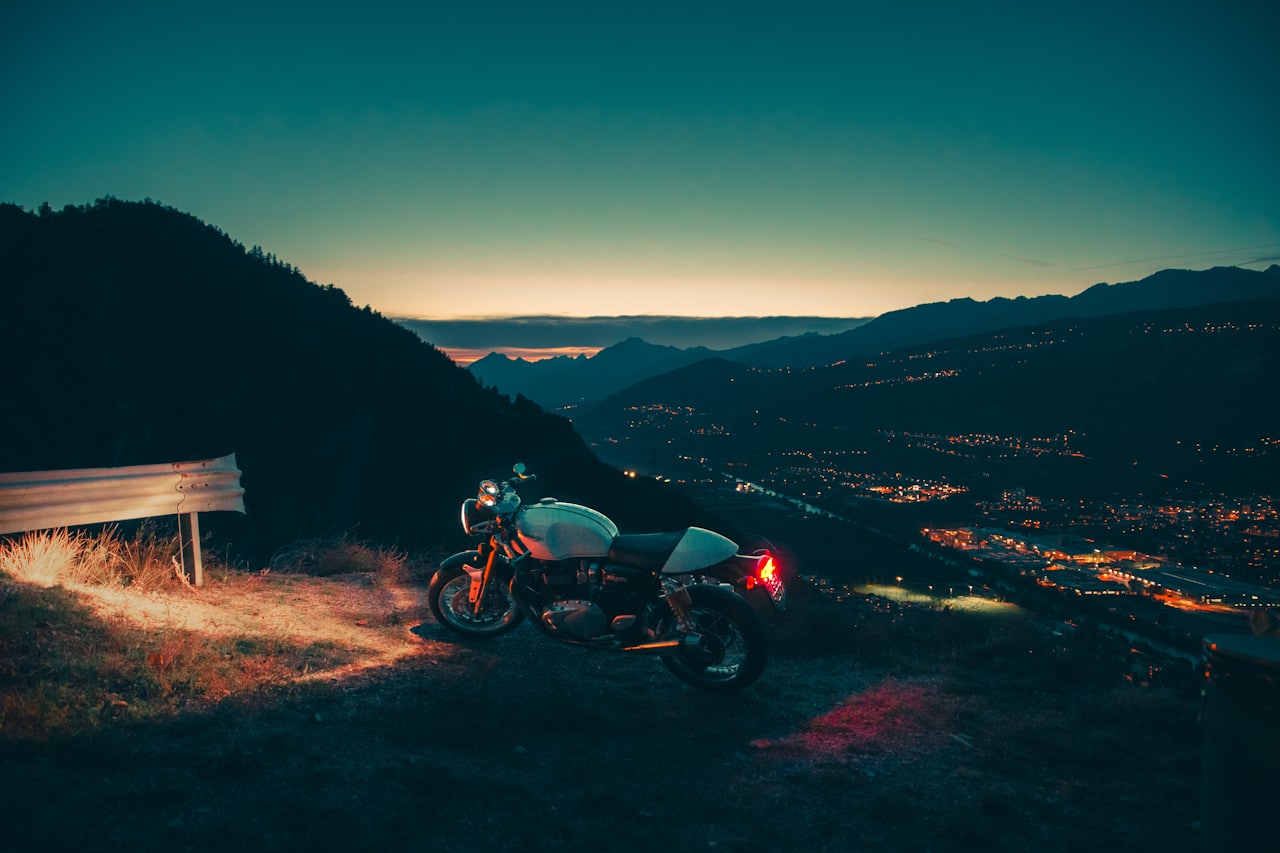
The adventure-touring bike has become the do-everything motorcycle of our age: comfortable enough for a thousand-kilometre motorway day, capable enough to tackle a gravel pass, and practical enough to commute on come Monday. That versatility is exactly why choosing one is so hard. The category now stretches from towering 1300cc flagships to friendly 450cc trail bikes, and the right choice depends far more on the roads you actually ride than on the ones you dream about.
The most important question is not which bike is best, but which bike is best for you. Weight, seat height and power all rise together as you climb the range, and a machine that feels majestic on a fast highway can feel like a burden when you drop it on a remote trail. Let us break the class into its three natural tiers and be honest about what each one asks of its rider.
What Adventure-Touring Really Means
An adventure bike blends long-travel suspension, an upright riding position, a large fuel tank and wind protection into one tall, commanding package. Some are firmly road-biased, wearing cast wheels and touring tyres; others are genuine dirt-capable machines with spoked rims, knobbly-friendly tyres and serious ground clearance. Deciding where on that road-to-dirt spectrum you sit is the single biggest filter you can apply before you shortlist a single model.
Wheels are the quickest clue to a bike’s intent. Cast alloy wheels and road-biased rubber signal a machine happiest on tarmac, while spoked wheels, a larger front rim and knobbly-compatible tyres mark out a serious off-road tool. Ground clearance, suspension travel and the presence of a metal bash plate tell the same story. Decide honestly how much dirt you will really ride, because a road-biased adventure bike is far easier to live with day to day.
The Big-Bore Flagship
The BMW R 1300 GS is the definitive big adventure bike, and it earns its reputation. With around 145 horsepower from its boxer twin, semi-active suspension and radar-assisted rider aids, it crushes distance like nothing else and remains astonishingly agile for its size. But make no mistake: at roughly 237kg fully fuelled it demands respect on loose surfaces and a confident rider to pick it up. Buy big only if most of your miles are tarmac and two-up touring, not tight singletrack.
That capability comes at a price beyond the sticker, though. Big adventure bikes are tall, top-heavy at a standstill and costly to insure and service, and their sophisticated electronics reward a rider who takes time to learn them. If you tour long distances, ride two-up and rarely leave the tarmac, none of that will trouble you and the GS will feel like a magic carpet. Just be honest about whether you will ever use its off-road potential, because most owners never truly do.
The Middleweight Sweet Spot
For a huge number of riders the middleweight is the honest answer. The Triumph Tiger 900 Rally Pro typifies it: a characterful 888cc triple with roughly 108 horsepower, long-travel suspension, spoked wheels and a manageable footprint. It carries luggage and a passenger happily, yet it is light enough that a slip on gravel does not end the day. If you want one bike for commuting, touring and the occasional green lane, this tier deserves the top of your list.
Middleweights also make sound financial sense. They sip fuel, wear tyres and brakes more slowly than the big flagships, and their lower mass means a slip on a loose surface is an inconvenience rather than a full recovery operation. For riders stepping up from their first bike, or anyone who wants genuine versatility without the intimidation, this is the tier that quietly does everything asked of it and asks remarkably little in return.
The Lightweight and Value End
At the accessible end sits the Royal Enfield Himalayan 450, and its charm is real. A single-cylinder engine making around 40 horsepower will never win a motorway drag race, but at roughly 196kg with an approachable seat it is confidence itself off-road, gentle on a learner’s nerves and kind to a tight budget. For new adventurers, shorter riders or anyone whose adventures are more dirt-track than autobahn, less genuinely is more.
There is a purity to the lightweight experience that heavier bikes cannot match. With less mass to manage you learn faster, explore more confidently and worry far less about dropping the bike miles from anywhere. The trade-off is modest motorway pace and a smaller luggage capacity, so a lightweight suits shorter trips, technical terrain and riders who value simplicity. For many, that honest, unintimidating character turns out to be exactly the point of adventure riding.
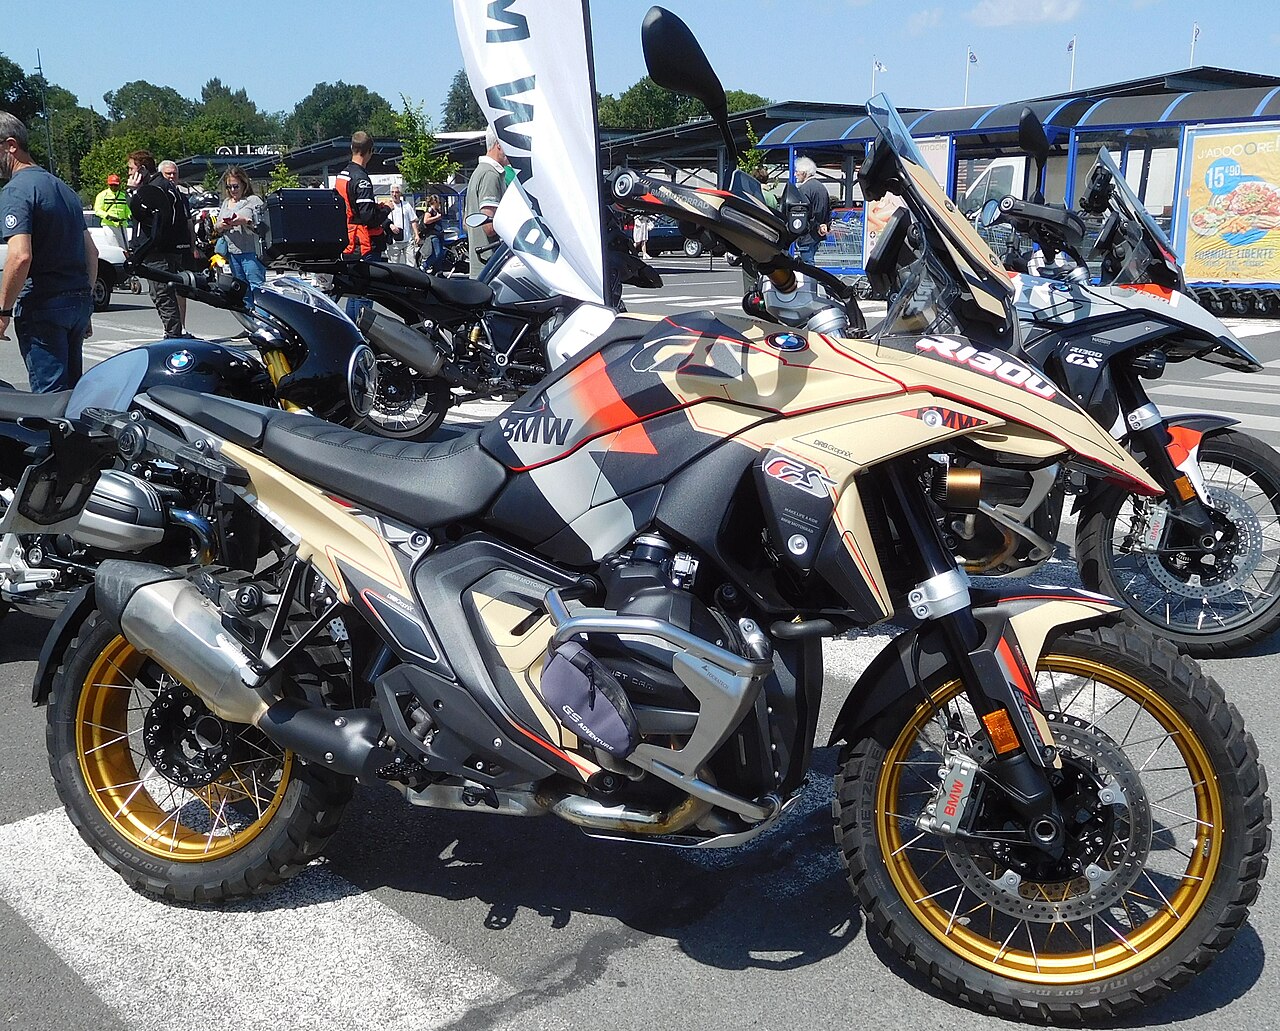
There is an old saying among riders: dress for the slide, not the ride. On a motorcycle you have none of the crumple zones, airbags or steel cage that protect a car driver, so the gear on your body is quite literally your bodywork. The encouraging truth is that modern protective kit is lighter, cooler and more comfortable than ever, and a full outfit costs a small fraction of the bike it protects you on.
The philosophy worth adopting is ATGATT — All The Gear, All The Time. Crashes rarely announce themselves, and the short trip to the shops is exactly when people get caught out in a t-shirt. Let us work from head to toe, explaining what each item does, how it should fit and which certification marks actually mean something.
The Helmet Comes First
Nothing you own matters more. A helmet should sit snugly with no pressure points, grip your cheeks firmly and not budge when you shake your head with the strap done up. Look for a current safety standard — ECE 22.06 across Europe and much of the world, DOT in the United States, or the tougher voluntary Snell rating. Full-face designs offer the most protection because they guard the chin and jaw, the most commonly struck area in a crash. Replace any helmet after a significant impact, even if it looks fine.
Fit is everything with a helmet, and it should be neither loose nor painful. A new lid feels firm and loosens slightly as the cheek padding beds in, so choose the snuggest size you can comfortably wear for an hour. Try several brands and shapes, because heads differ and a helmet that suits a friend may not suit you at all. And never buy a used helmet, because you cannot see the internal damage a previous impact may have quietly caused.
Jackets and the Armour Inside
A good jacket does two jobs: it resists abrasion so the road does not reach your skin, and it holds impact armour over your shoulders, elbows and spine. Leather offers superb abrasion resistance; modern textiles add weatherproofing and ventilation. In Europe garments are rated to EN 17092, from AAA for the most protective down to A for lighter urban wear. Whatever the shell, make sure the armour is CE-marked and, ideally, upgraded to Level 2 at the shoulders and elbows, with a proper back protector fitted rather than a token foam pad.
Fit matters here too, because armour that slides out of place in a crash protects nothing. The jacket should be snug enough to hold its protectors over the joints even as you tuck into your riding position, so try it on leaning forward rather than standing straight. Look for adjusters at the waist, arms and cuffs, and consider a jacket with both a thermal liner and vents so a single garment covers more of the year. A connecting zip to your trousers seals out draughts and keeps everything aligned.
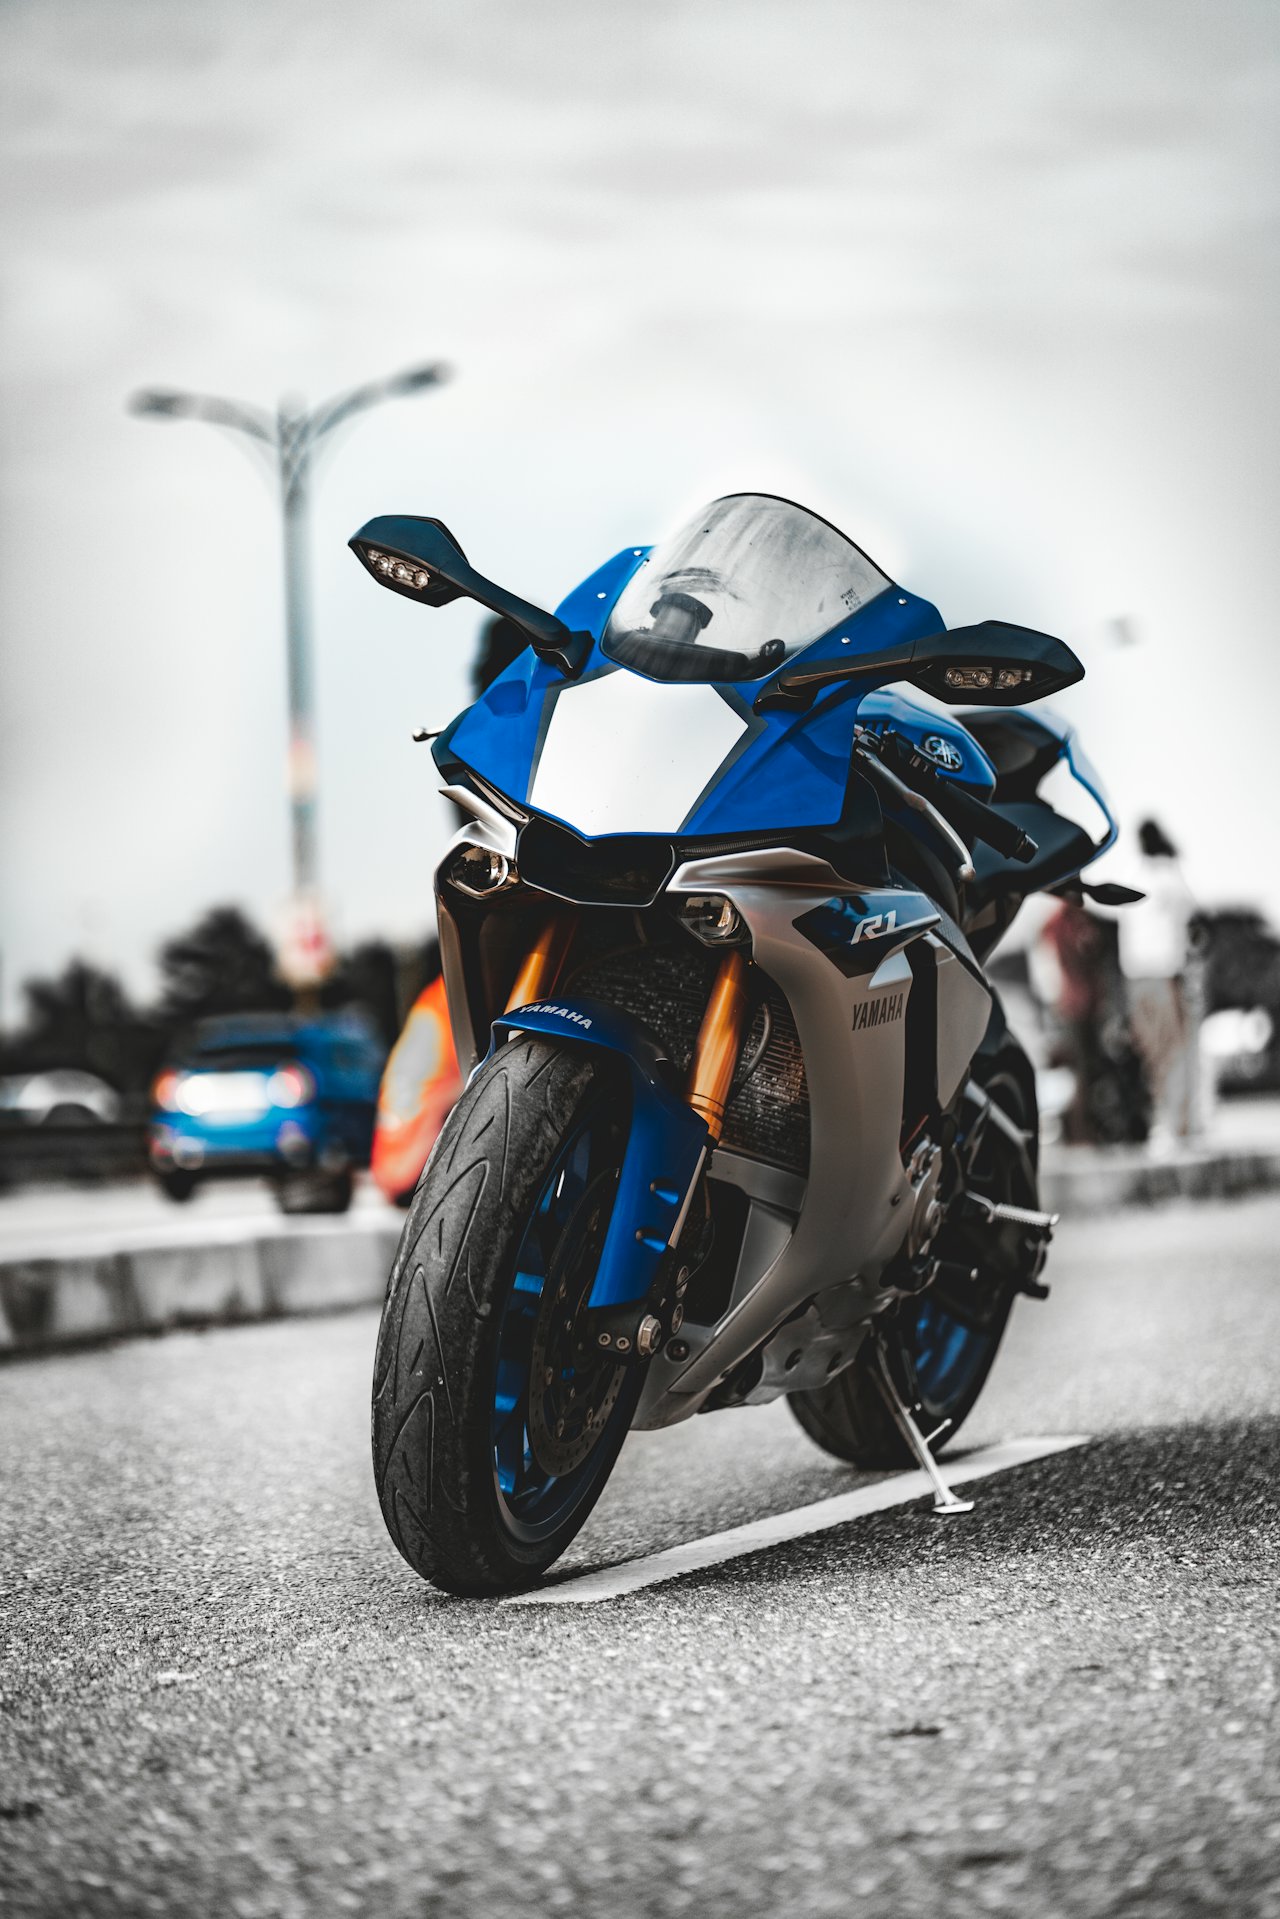
The chain is the single most neglected component on most motorcycles, and also one of the most important. It transmits every bit of your engine’s power to the rear wheel, works in the filthiest position on the bike and asks for almost nothing in return — just a clean, a lube and an occasional adjustment. Ignore it and you will feel a snatchy, notchy drivetrain, wear out expensive sprockets prematurely and, at worst, risk a chain that jumps or snaps.
The whole job takes about fifteen minutes and needs only basic tools. Do it in the right order — clean, then lube, then check the tension — and your drive train will run sweetly for tens of thousands of kilometres. Make it a ritual you enjoy rather than a chore you avoid, and the bike will reward you every time you pull away. Here is exactly how, safely and without guesswork.
What You Will Need
Gather your kit before you start so you are not wandering off mid-job with oily hands. A paddock stand or centre stand is a huge help because it lets you spin the rear wheel freely, and everything else is cheap and lasts for years. Work in a well-ventilated space, lay down cardboard or newspaper to catch the drips, and keep a barrier cream or gloves handy, because chain grime is stubborn stuff. A cool engine and a stable, level surface make the whole job safer, and setting everything within arm’s reach before you begin lets you work in one smooth, uninterrupted sequence.
- A paddock stand or centre stand to lift and rotate the rear wheel.
- A dedicated chain cleaner or kerosene, plus a soft grunge brush.
- A can of proper motorcycle chain lube, ideally suited to O-ring chains.
- Rags, disposable gloves and something to protect the tyre and floor.
- The spanners for your axle nut and adjusters, plus a torque wrench.
Step One: Clean the Chain
With the bike on its stand, spray the chain with cleaner and gently work the grime loose with a soft brush, rotating the wheel by hand as you go. The golden rule with modern O-ring and X-ring chains is to be gentle: never use a wire brush, high-pressure jet wash or harsh solvent such as petrol, as these can tear the tiny rubber seals that hold in the factory grease. Wipe the chain dry with a rag before you move on.
Pay attention to the whole run as you rotate the wheel, cleaning the rollers, side plates and the faces that mesh with the sprockets. A dedicated grunge brush with bristles on three sides makes light work of this and protects the seals far better than an old toothbrush ever will. If the chain is caked in old fling-off and grime, a second pass of cleaner is worth the effort, because lube applied over dirt simply grinds it deeper into the joints.
Step Two: Lube It Properly
Chain lube works best on a warm chain, so a quick ride beforehand helps it penetrate. Aim the nozzle at the inner face of the chain — the side that contacts the rear sprocket — and lay down a light, even coat while slowly turning the wheel through two or three full rotations. Less is more: a thin film protects, while a heavy soaking simply flings off onto your wheel and swingarm. Crucially, let the lube dwell for a few minutes, or ideally overnight, so the carrier evaporates and the lube stays put.
Different lubes suit different conditions. Wax-based lubes stay cleaner and fling off less, which makes them popular for road use, while stickier chain greases cling harder in the wet but attract more dirt. Whichever you choose, wipe away any excess with a rag once it has settled, because a chain does not need to look wet to be protected. A tidy, lightly oiled chain runs cooler, quieter and considerably longer than a dripping, over-lubed one.